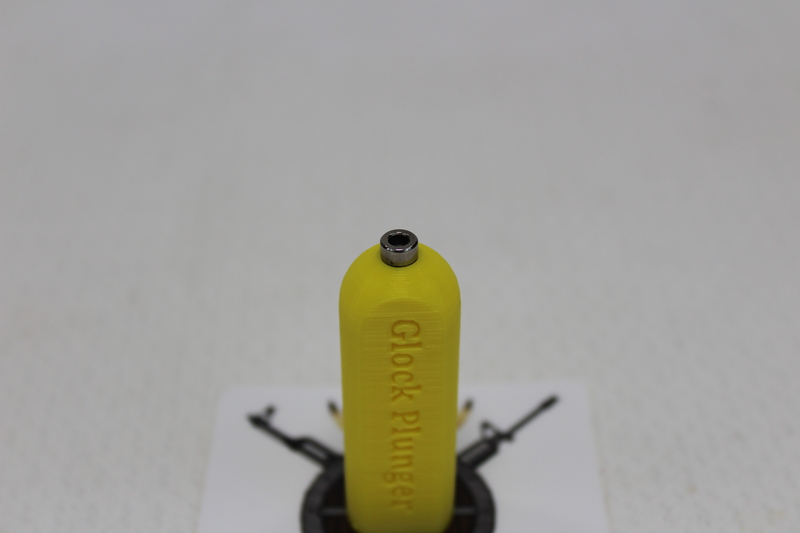
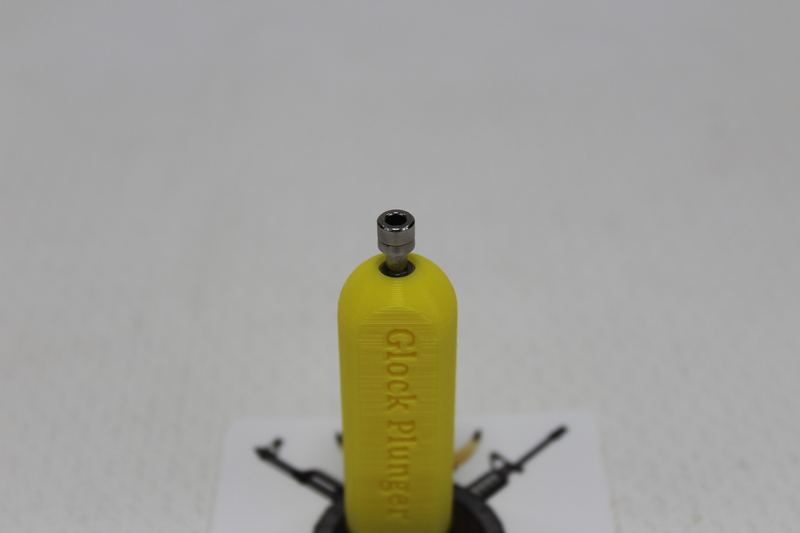
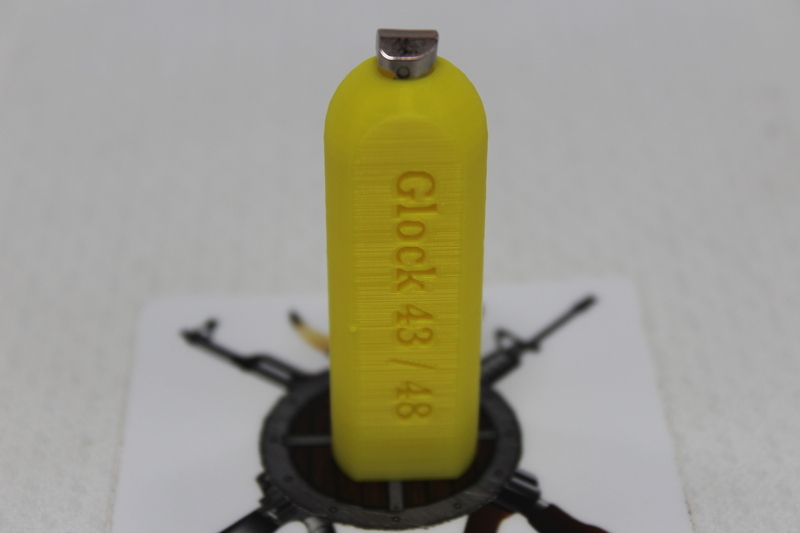
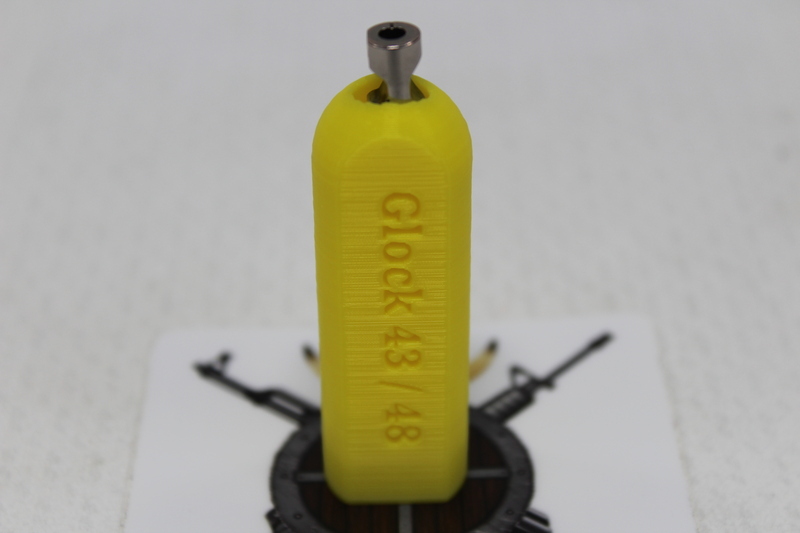
Putting the trigger bar back in place on Glocks performance trigger is a PITA. I created this very little tool to help out.
Instructions:
Here is a quick Video:
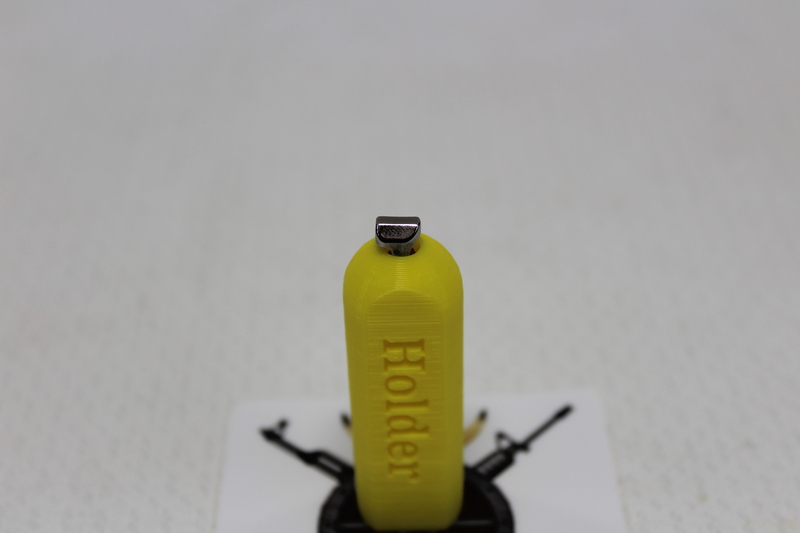
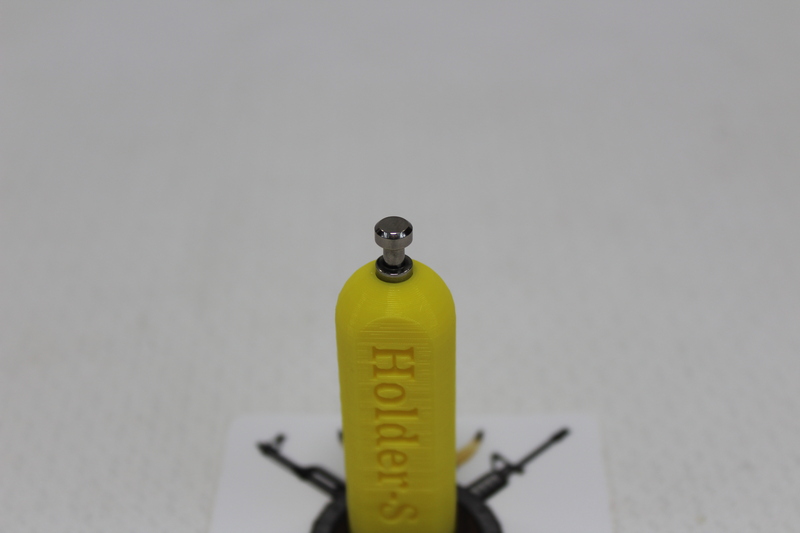
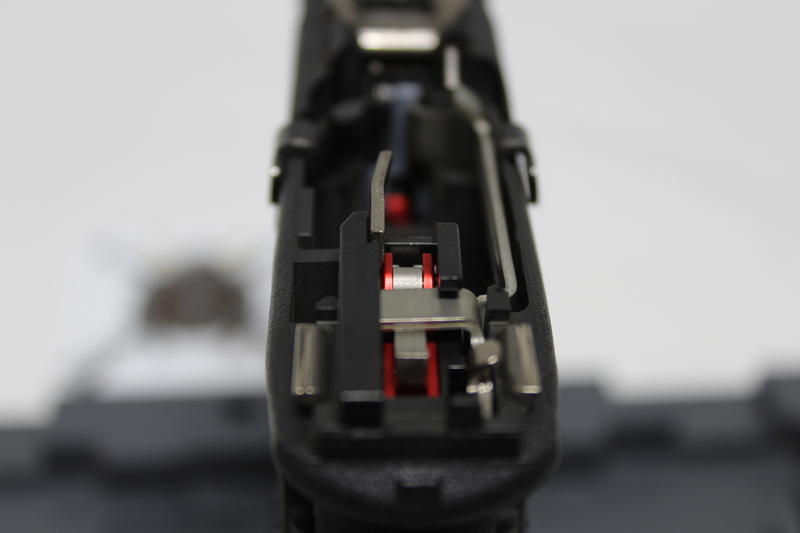
– Push the Trigger Spring with Sear-holder up

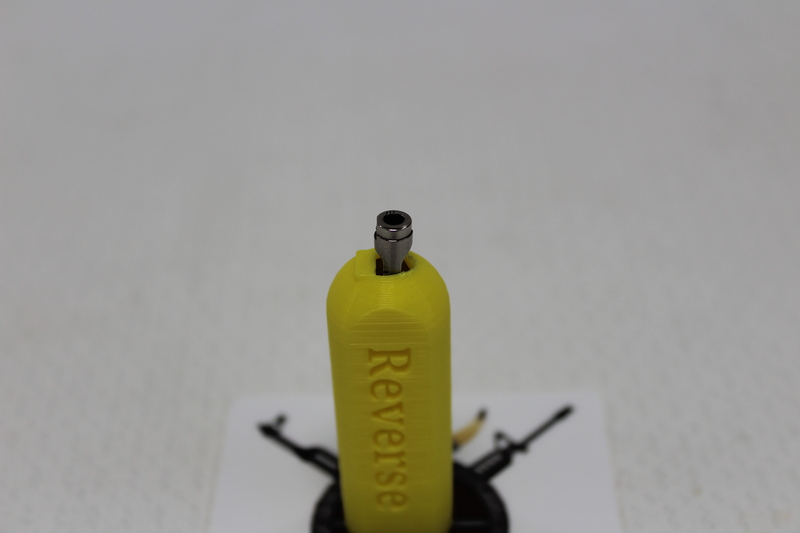
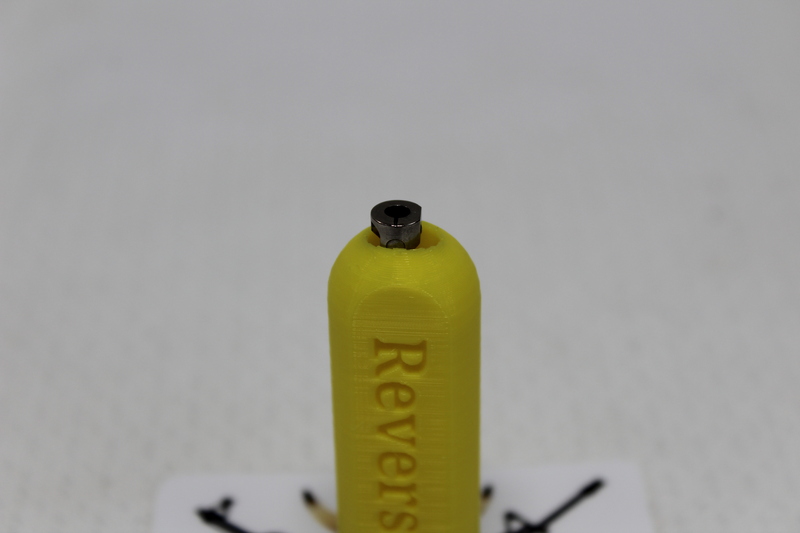
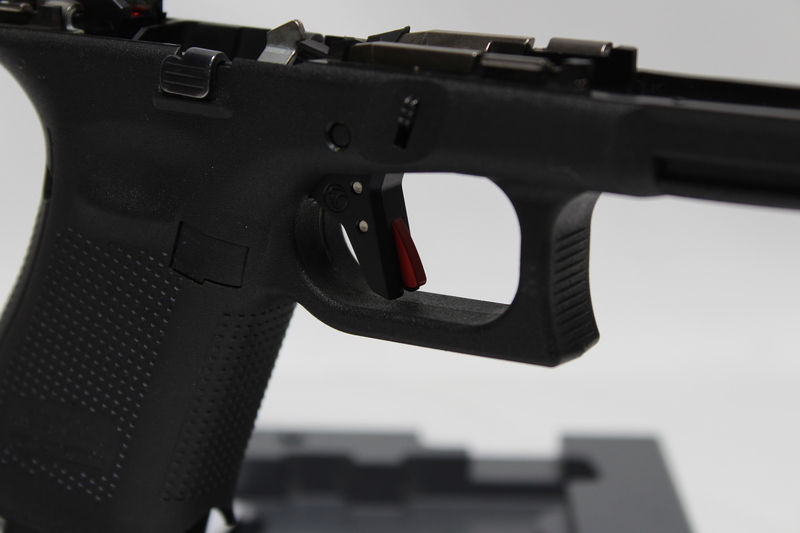
– Slide the Performance Trigger Tool through the round hole, opposite side of where the trigger bar will slide in


– Push the Trigger Spring with Sear-holder down, holding it in the down position ensuring the spring rod pushes on the slave pin.

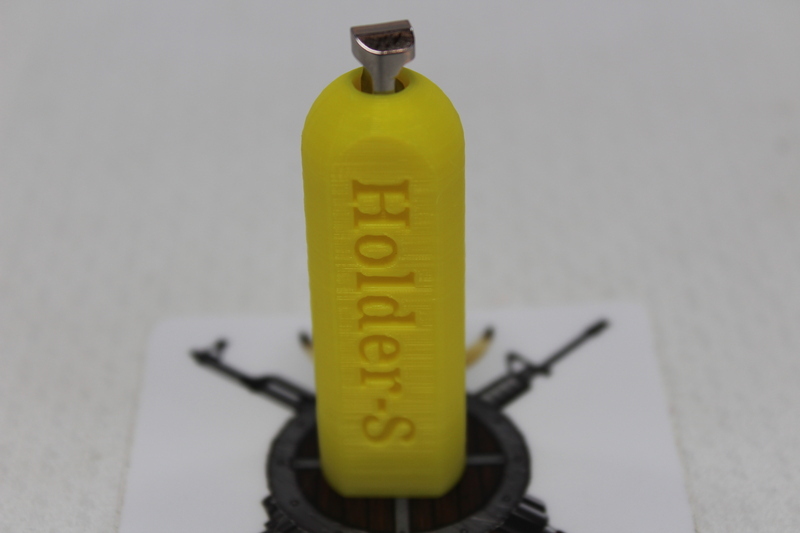
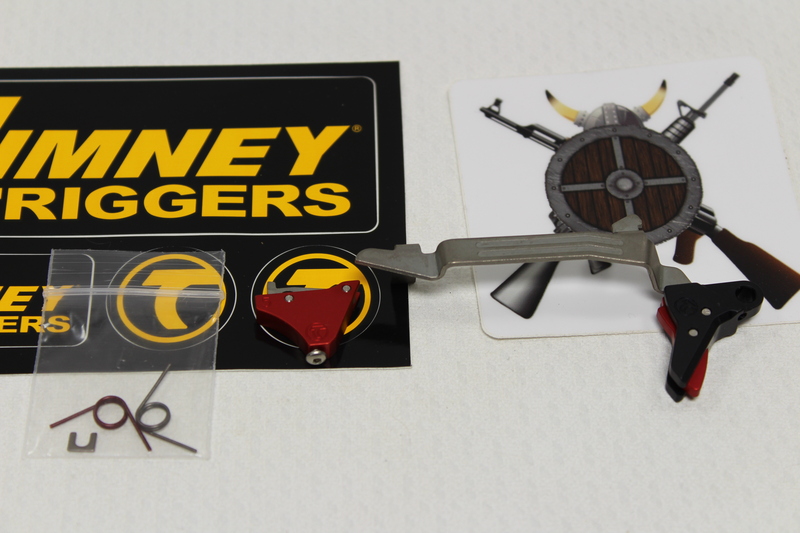
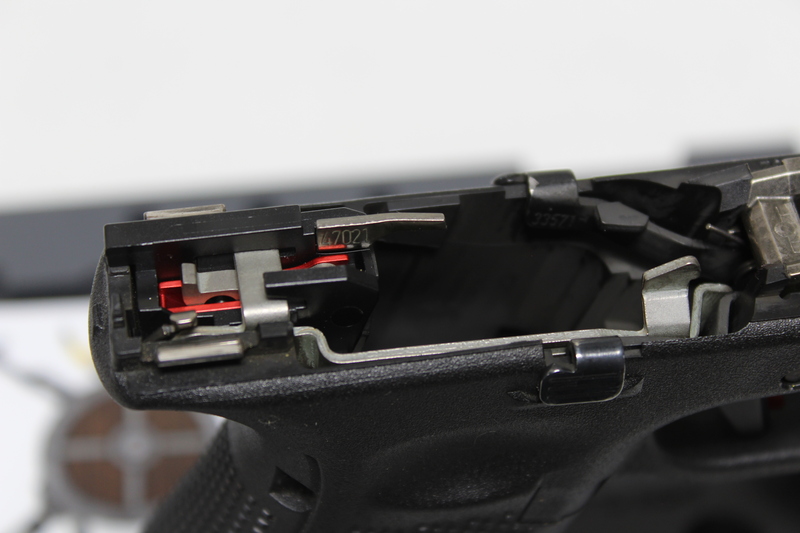
– Install the trigger bar making sure that the lower extension / pin is in the Performance Trigger Tools open hole.

– Slide out the Performance Trigger Tool

Ready to install!
Hit us up with comments or requests
DISCLAIMER: “GLOCK” is a federally registered trademark of GLOCK, Inc. and is one of many trademarks owned by GLOCK, Inc. or GLOCK Ges.mbH. Neither Viking Armory nor this site are affiliated in any manner with, or otherwise endorsed by, GLOCK, Inc. or GLOCK Ges.mbH. The use of “GLOCK” on this page is merely to advertise the sale of Glock parts, or components. For genuine GLOCK, Inc. and GLOCK Ges.mbH products and parts visit www.glock.com
All Documents posted on this site are for informational use only. If you make ANY modifications to your Weapons based on this site, you do at your own risk! If done incorrectly, you can render you weapon unsafe and / or unusable.
More HERE: https://viking-armory.com/?page_id=723