We have added a new Glock pin set, that you can buy HERE, to our collection. We listened to our customers who said that they wanted a longer handle for a better grip. The length of the pins is the same on both versions.
Here you go:
Glock Pin with longer handle and holder 2Glock Pin Long Handle in Holder
There a 3 pins in 2 different sizes, 1 large and 2 small.
Glock Pin v2 Sizes
Shown in the below image Gen 4 and prior used 3 pins:
Glock Pins Gen 4 marked pins
While the Gen 5 and later only use 2:
Glock Pins Gen 6 marked pins
We want you to be able to use our tools on all you can, so we include 3.
Here is a picture with the pins used on a Glock 17 Gen 4:
Glock Pin Set in G17 Gen 4 Top
Get your Here
Hit us up with comments or requestsAll Documents posted on this site are for informational use only. If you make ANY modifications to your Weapons based on this site, you do at your own risk! If done incorrectly, you can render you weapon unsafe and / or unusable.
The GLOCK Performance Trigger meets the criteria for those looking for an enhanced trigger pull and ergonomics, all while utilizing a flat-faced trigger and maintaining the same safety features of the GLOCK Safe Action System.
The GLOCK Performance Trigger is now compatible with 9mm Gen4 pistols. A Gen5 slide cover plate now ships with all GLOCK Performance Triggers, as an included replacement for Gen4 models that ensures compatibility and proper function. The GLOCK Performance Trigger will not come installed on any factory models. It is available as an accessory only and must be installed by a certified GLOCK Armorer. GLOCK does not recommend any aftermarket modifications to the GLOCK Performance Trigger.
Trigger Pull Weight: ∼ 5lbs.
Fits: Gen4 and Gen5 models G26, G19, G17, G34 and models G19X, G45, G47
Glock Performance Trigger factor packaging
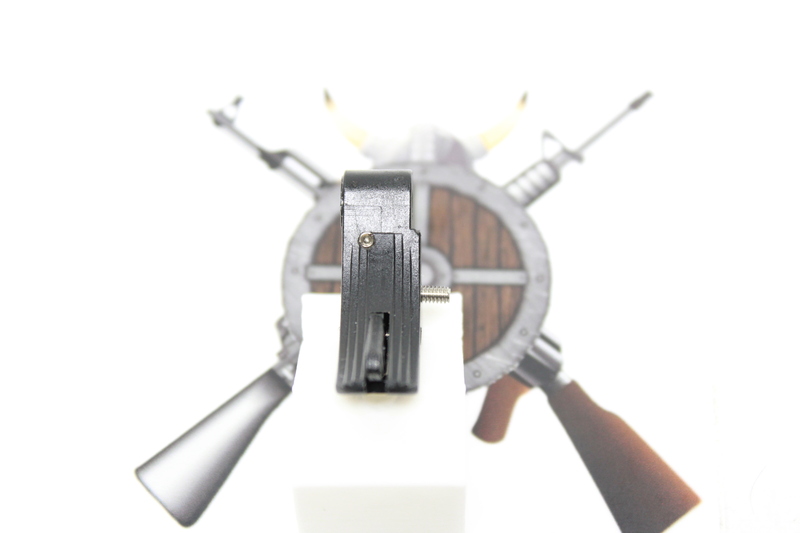
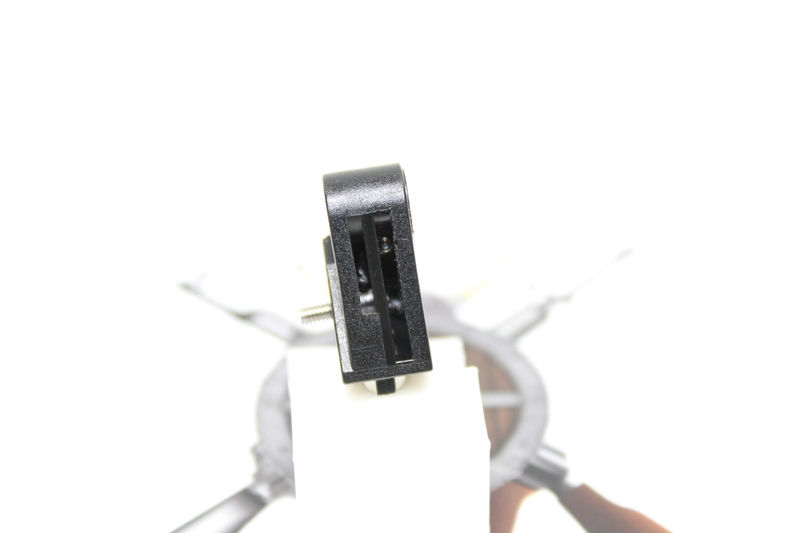
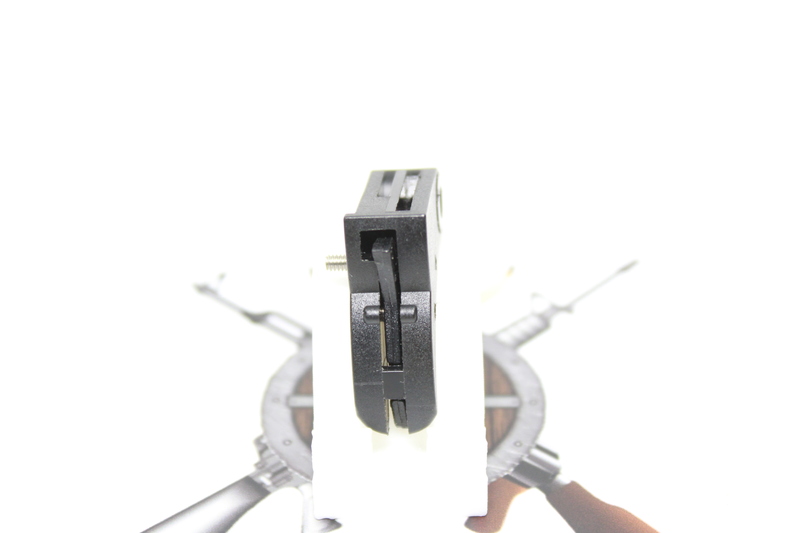
Here is a picture of the housing and connector as it is out of the box.
Glock Performance Trigger factory housing
After a little work this is the polish I got on the trigger bar.
Glock Performance Trigger Bar Side 1
Other side.
Glock Performance Trigger Bar Side 2
Pay special attention to the surface that rubs the connector.
Glock Performance Trigger Bar connector surface
Also extra attention should be applied to the surface touching the safety plunger. Remember, you a polishing, careful not to remove too much material.
Glock Performance Trigger Bar Safety Bump
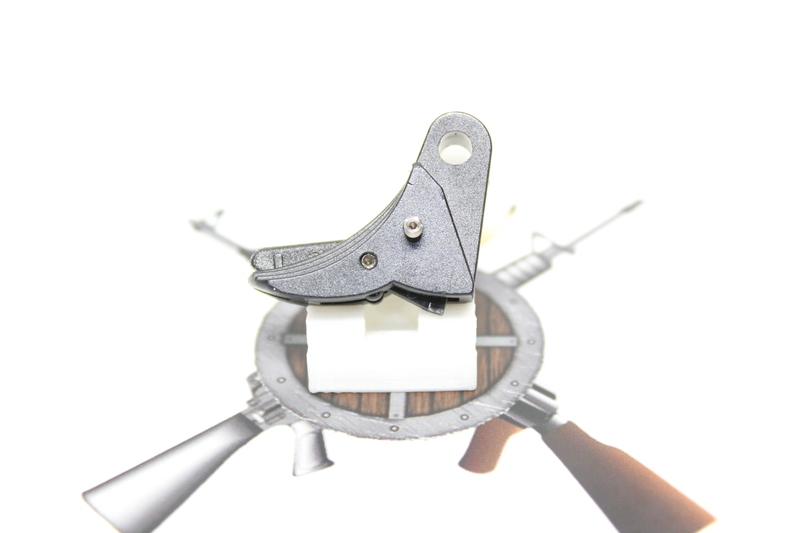
The factory Trigger shoe comes apart the same as all Glock trigger shoes.
These are great if you need to test and disassemble your Glock frame multiple time in one sitting. Such as adjusting your trigger shoe, trigger housing, or adjusting your connector.
They can be used to dry fire your Glock, to check to see if more changes are required. If there are, you can use the handle to easily remove the pins and make your adjustments.
DO NOT use for live fire!
When you are done, you can push them out with the factory pins or pull them out and install your factory pins and head to the range.
This is what I do for deep cleaning my pistols. I don’t want to get into the endless debate over how and when you should clean, that’s up to you. I am only showing what I do.
This is a shot of my setup before initial take down.
Gun cleaning before take down
I use my Harbor Freight ultra sonic cleaner with a 30:1 ratio of distilled water:Simple Green set on heat for 16 minutes. 8 minutes flip / adjust parts another 8 minutes. Small parts go into a jar or solution filled zip lock bag.
Gun Cleaning Simple Green HF Ultra Sonic
Then I blow everything off:
Gun Cleaning Blowing Parts Off
Then I drop the parts in my Bald Eagle ultra sonic cleaner with a 20:1 ratio of Distilled water:Ballistol set on 122 degrees for 20 minutes. 10 minutes flip / adjust parts another 10 minutes. I put the small parts in a jar with the same solution.
Gun Cleaning Bald Eagle in Ballistol
I blow and wipe everything off then lay the parts out back on the work bench.
Gun Cleaning Parts Trays
Then I put it back together and function test. Ready for the range.
The above are average measurements. It is polymer, it moves so you will not get consistent measurements. They are mass produced and can vary in size between batch runs. The trigger I had at the time had the above measurements. Yours might vary. “A” was my distance to the center of the trigger bar slot.
We want to get the screw hole centered in front of the trigger bar slot (A) left to right and at the height of the front curve.
You are going to need Standard Trigger:
 2 - 56 3/16 long stainless steel socket set screw
 2 - 56 3/8 long stainless steel socket set screw for trigger bar
 .035 Allen Wrench
 #50 drill bit
 2 - 56 tapered tap
You are going to need Performance Trigger:
 2 - 56 3/16 long stainless steel socket set screw
 2 - 56 3/8 long stainless steel socket set screw for trigger bar
 .035 Allen Wrench
 #50 drill bit
 2 - 56 tapered tap
Using the #50 drill bit, drill a hole 9 mm down and center of the trigger bar slot. Make sure it is straight. I use my Dremel Drill press to do this. Slowly work the 2 – 56 tap through it.
Front Shot:
Looks pretty centered:
While I am at it, I drilled and tapped the safety and trigger bar holes with the above tools and threaded in 2 – 56 x 3/8” set screws
Once I am confident that everything is setup correctly, I will seal the deal with Loctite 425
I modified the safety on this trigger as well
Here is what the trigger safety looks like unmodified:
There are 4 different cuts I am going to try.
Never cut off more than shown in the last example.
All Documents posted on this site are for informational use only. If you make ANY modifications to your Weapons based on this site, you do at your own risk! If done incorrectly, you can render you weapon unsafe and / or unusable.
Here is a recent Johnny Glocks Evolution trigger I installed. This post is not to show how to install it or review it. There are plenty of articles on both out in the wild. This is just to show what one of my installs for this product look like:
This is what you get:
Slide it in place:
Put the pins back in:
Drop the slide back on, function check and ready to shoot!
All Documents posted on this site are for informational use only. If you make ANY modifications to your Weapons based on this site, you do at your own risk! If done incorrectly, you can render you weapon unsafe and / or unusable.
Using the polishing items in the notes HERE I did the example below:
Here are is a before shot:
I am trying to show the firing pin face in this one. Notice the grooves:
General Cleaning / Shine polish to all areas. Careful not to remove too much from the YELLOW areas and the firing pin tip.
The Face area is what you want to get butt ass smooth.
All Documents posted on this site are for informational use only. If you make ANY modifications to your Weapons based on this site, you do at your own risk! If done incorrectly, you can render you weapon unsafe and / or unusable.
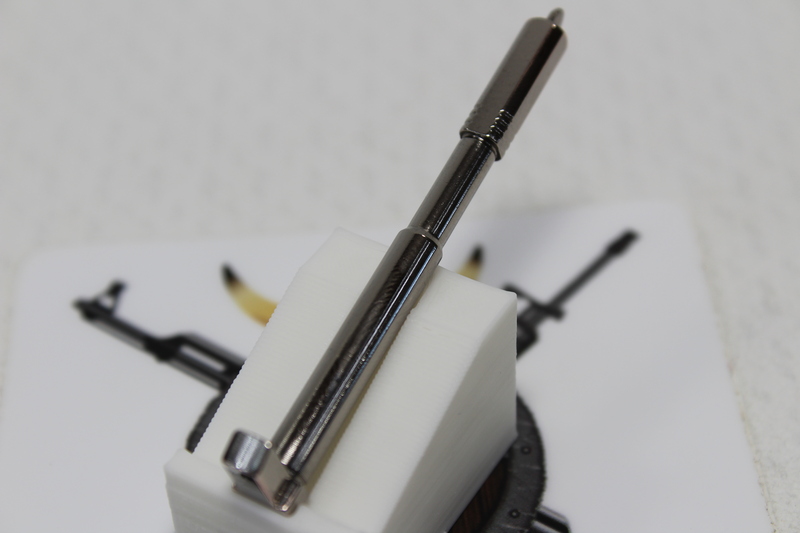
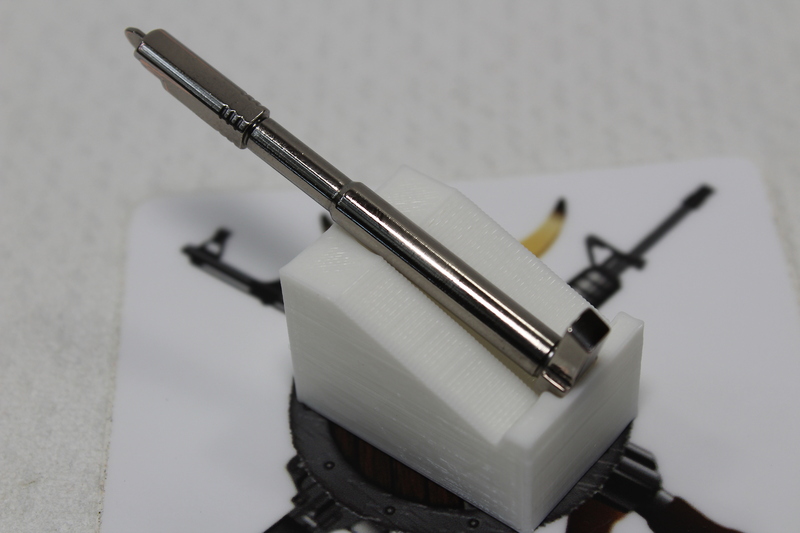
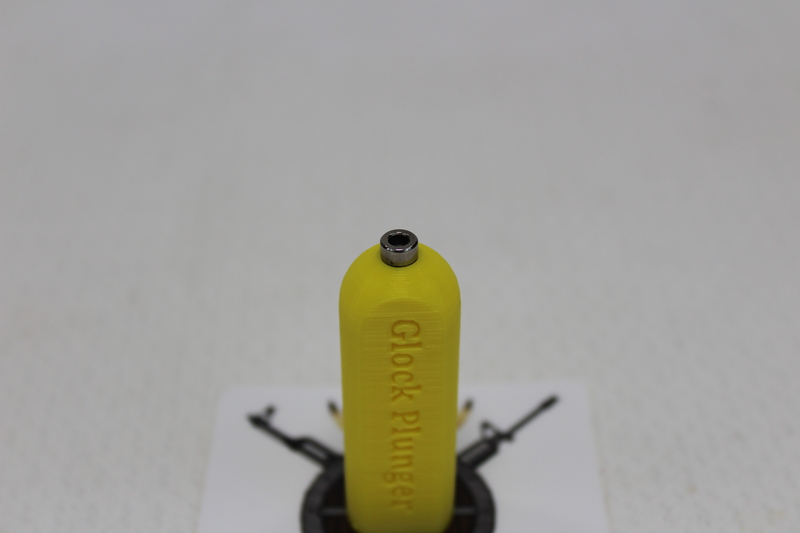
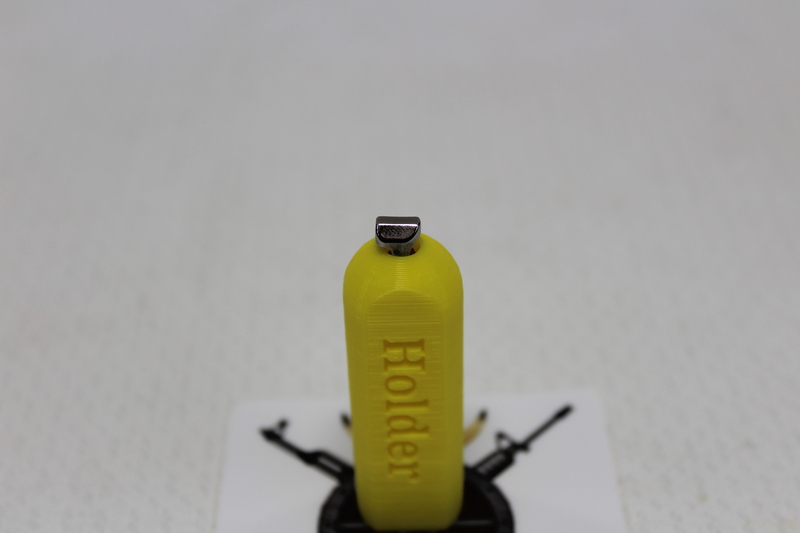
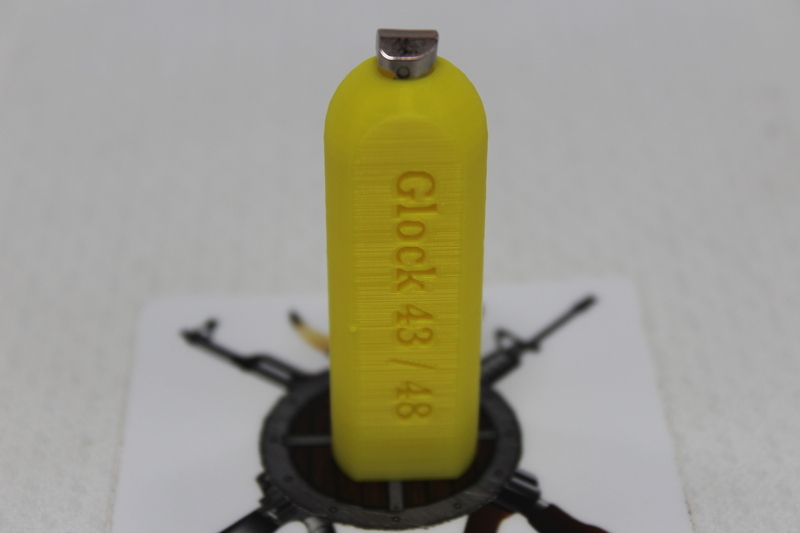
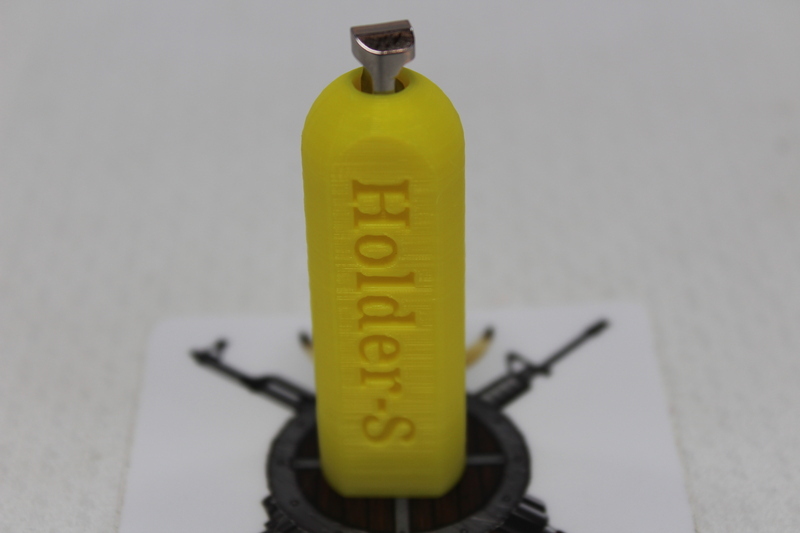
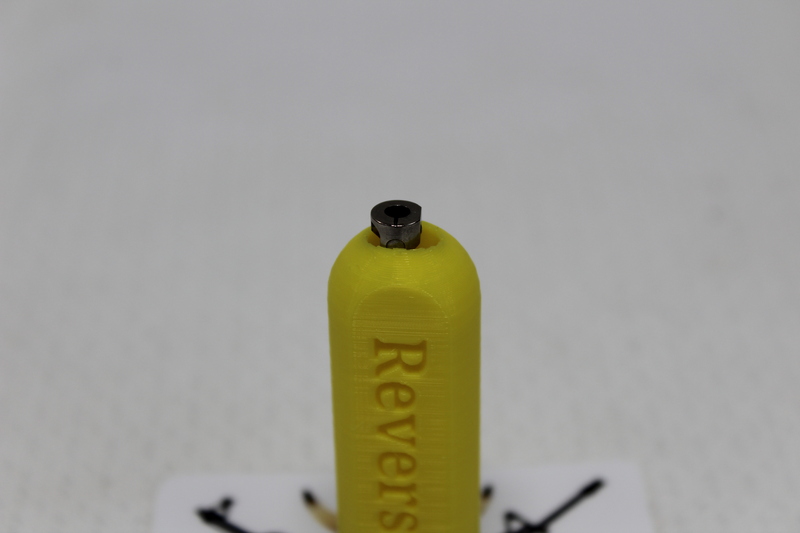
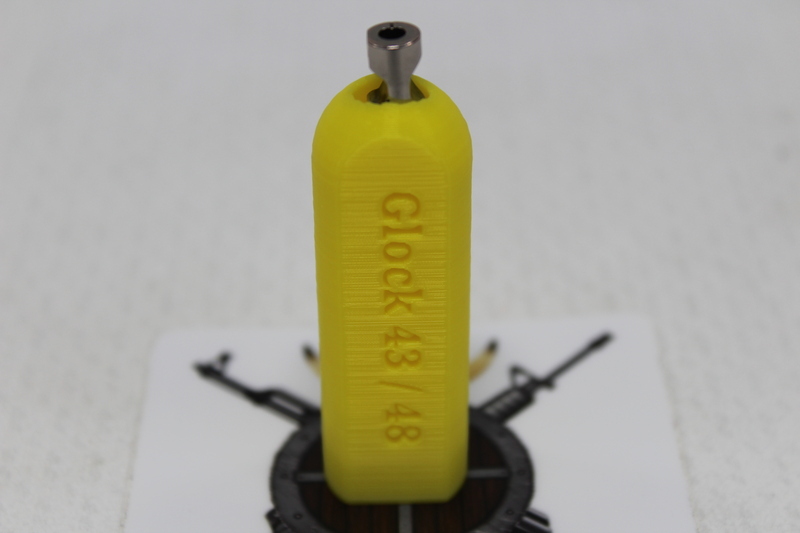
When polishing any small part like the Glock safety plunger using buffung wheels on my grinder the part would at times go flying out and get damaged or temporarly lost. To help with that I create and print the Glock Safety Plunger Holder. I have different versions for different models and generations:
Plunger Holder.stl:
Plunger Holder.stl
Plunger Holder.stl
Gen 5:
Plunger Holder.stl
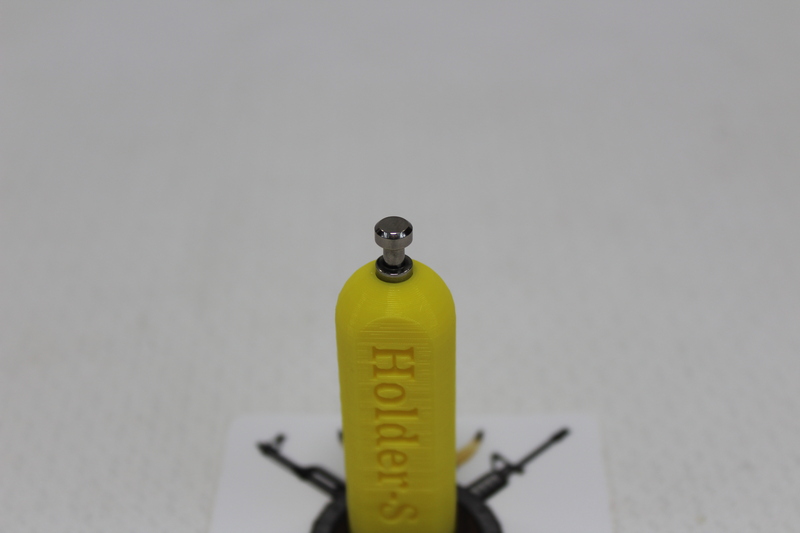
Plunger Holder Shallow.stl
Plunger Holder Shallow.stl
Plunger Holder Shallow.stl
Gen 5:
Plunger Holder Shallow.stl
Plunger Holder with Lip.stl – I am testing this one out. I added the lip to see if it would help hold the Glock Safety Plunger a bit better…
Plunger Holder with Lip.stl
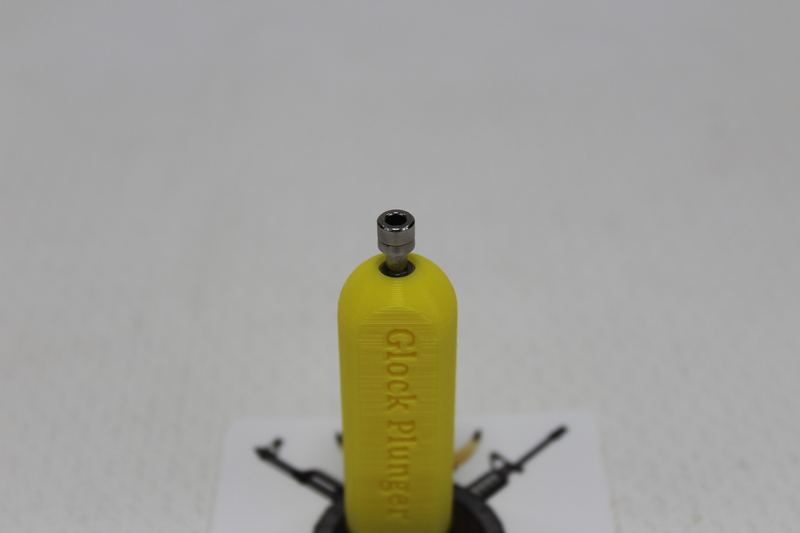
Plunger Holder G43 G48.stl
Plunger Holder G43 G48.stl
Plunger Holder G43 G48 Shallow.stl
Plunger Holder G43 G48 Shallow.stl
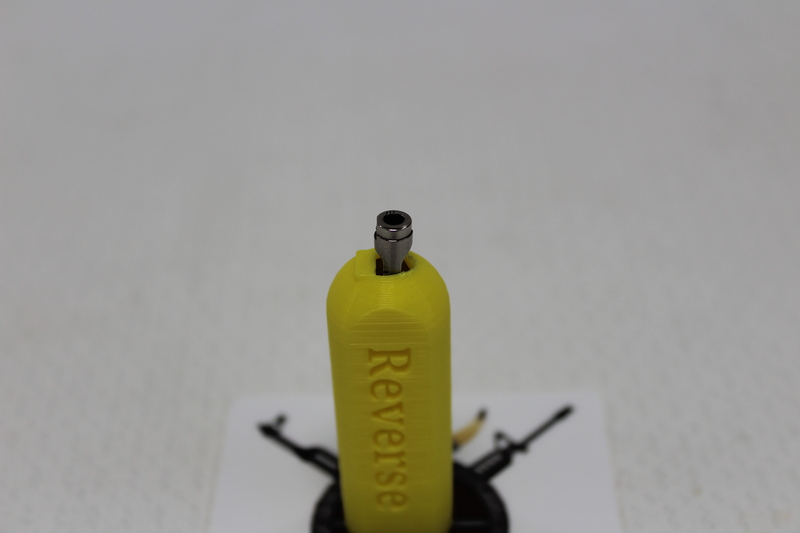
Plunger Holder G43 G48 Reverse.stl
Plunger Holder G43 G48 Reverse.stl
Plunger Holder G43 G48 Reverse Shallow.stl
Plunger Holder G43 G48 Reverse Shallow.stl
I usually print these up when I have just a bit of filament left. Then toss it in a drawer till needed.
All Documents posted on this site are for informational use only. If you make ANY modifications to your Weapons based on this site, you do at your own risk! If done incorrectly, you can render you weapon unsafe and / or unusable.
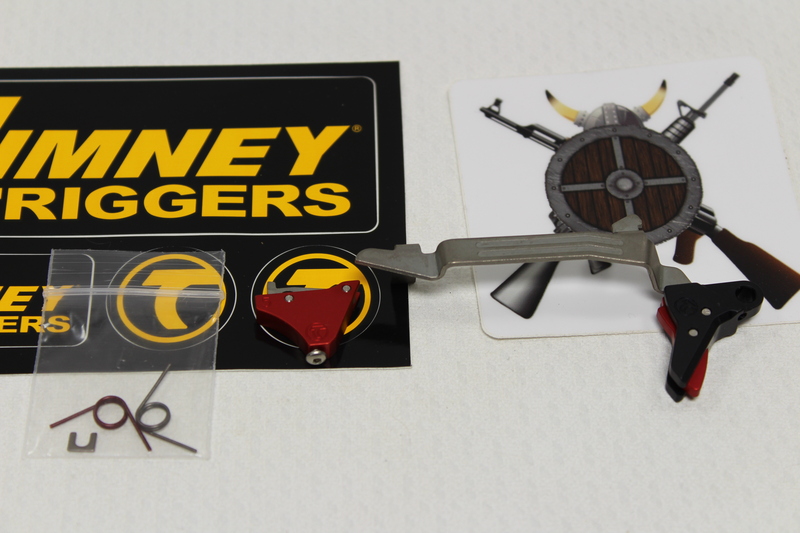
Here is a recent Timney trigger I installed. This post is not to show how to install it or review it. There are plenty of articles on both out in the wild. This is just to show what one of my installs for this product look like:
This is what you get:
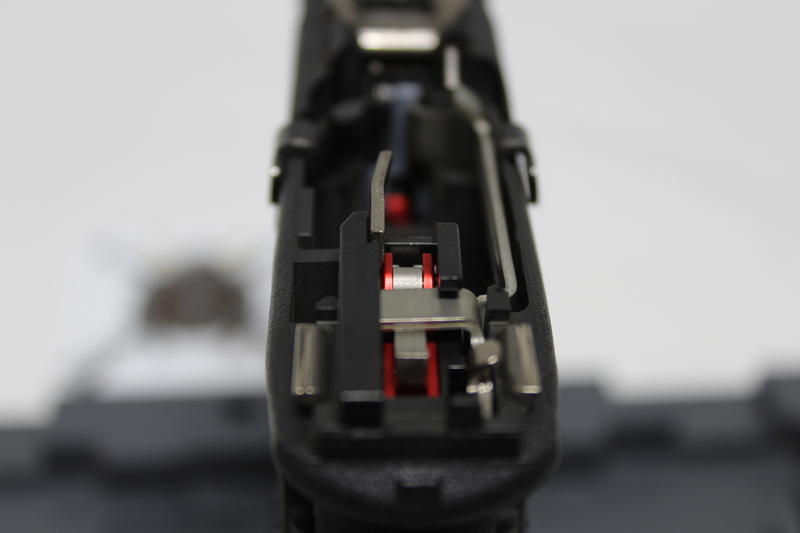
Slide it in place:
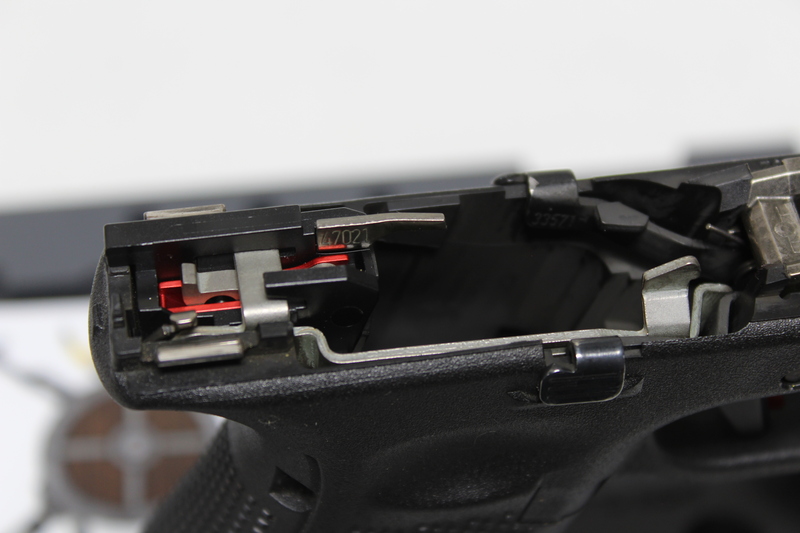
Put the pins back in:
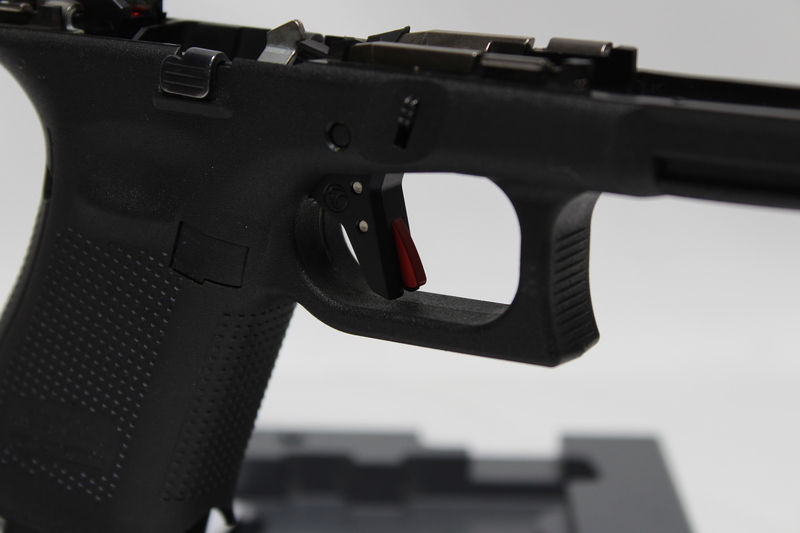
Drop the slide back on, function check and ready to shoot!
All Documents posted on this site are for informational use only. If you make ANY modifications to your Weapons based on this site, you do at your own risk! If done incorrectly, you can render you weapon unsafe and / or unusable.