Glock 44 15 Round Magazine Upgrade

I want to give my Glock 44 as many rounds as my Glock 19. To do so I made some changes to the alex alex Glock 44 15 round magazine upgrade found in several places on the internet. I started with foxalex extension found on HERE on thingiverse.  I added a slot for the magazine spring and side catches to help it hold better. My remix can be found HERE 

Magazine 5 round extension

I used THIS follower. Make sure it is clean with no sharp edges and overhangs.

Glock 44 15 round magazine follower

I attached it to a Walther PPQ 22 15+1 Replacement Magazine Spring. I did not want stretch my factory spring as suggested in some of the online articles. I like to keep all my factory parts as original as I can. 

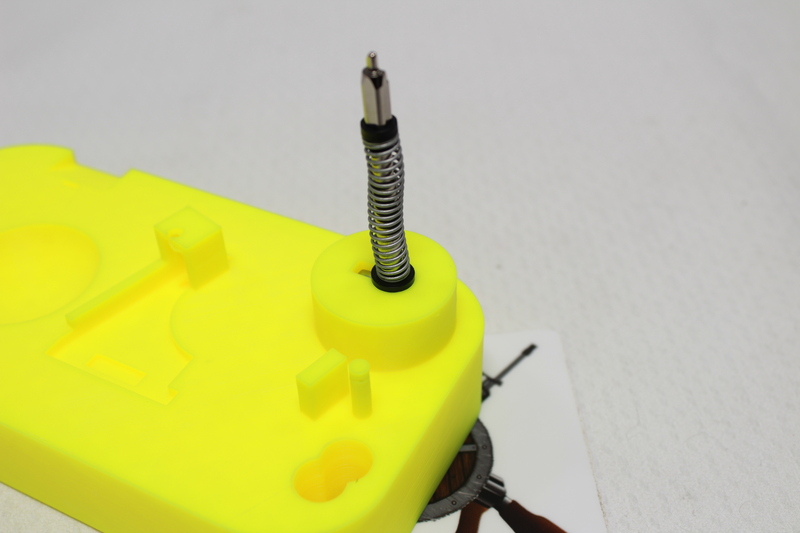
Glock 44 15 round magazine spring
Glock 44 15 round magazine follower and spring

Then I slid the spring assembly into the magazine and made sure it slid without getting caught and hanging up on anything.

Glock 44 15 round magazine spring insert and install
Glock 44 15 round magazine spring install

Slid the base back on:

Glock 44 15 round magazine base plate

For the final product:

Glock 44 15 round magazine complete
G44 15 round mag complete

I put around 100 rounds through it so far without issues. I will try and keep this post updated.

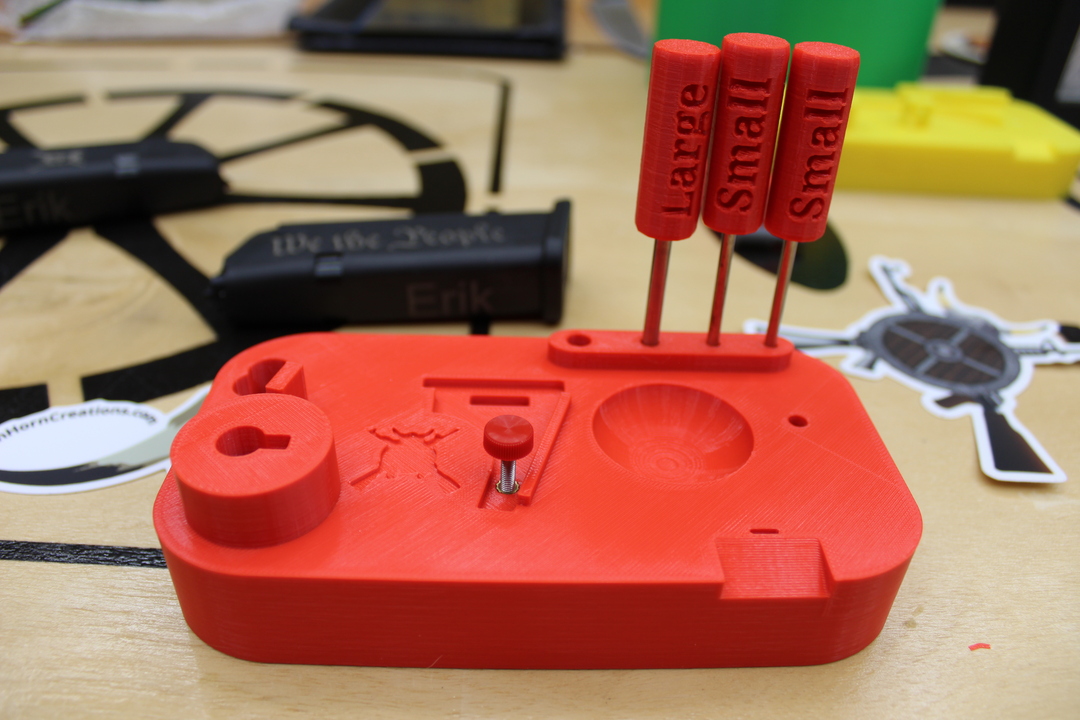
GlockSmith Block

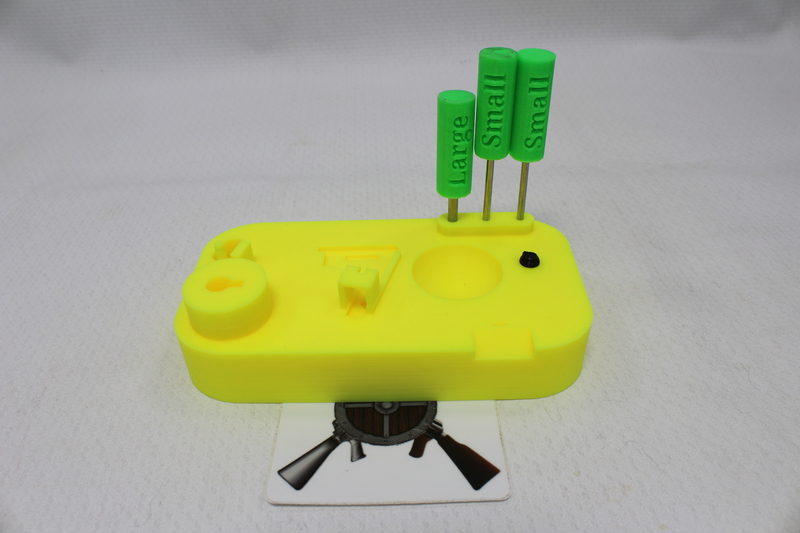
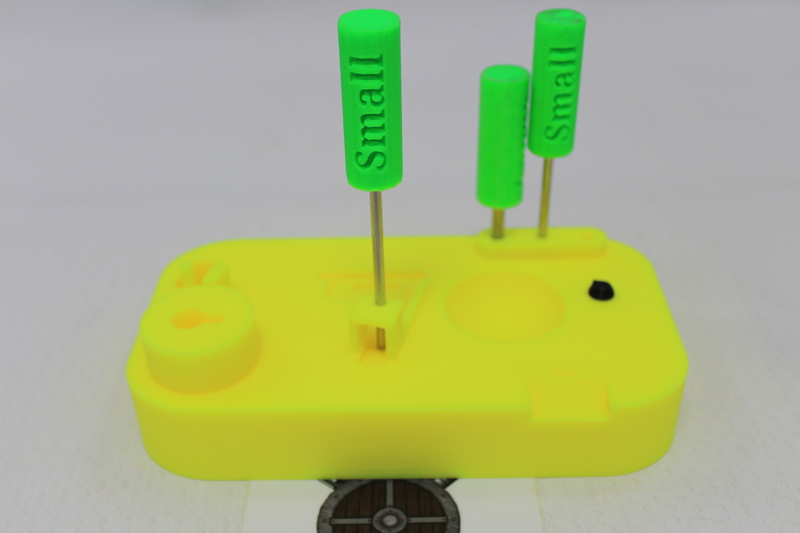
I wanted to create a block that Glock Armorers could use to perform Glock-Smithing tasks regardless of Glock model.

GlockSmith Block Naked 2

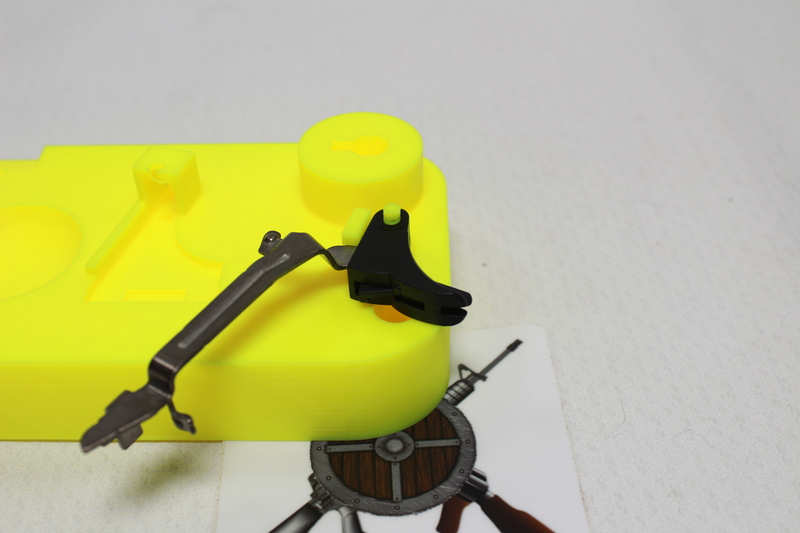
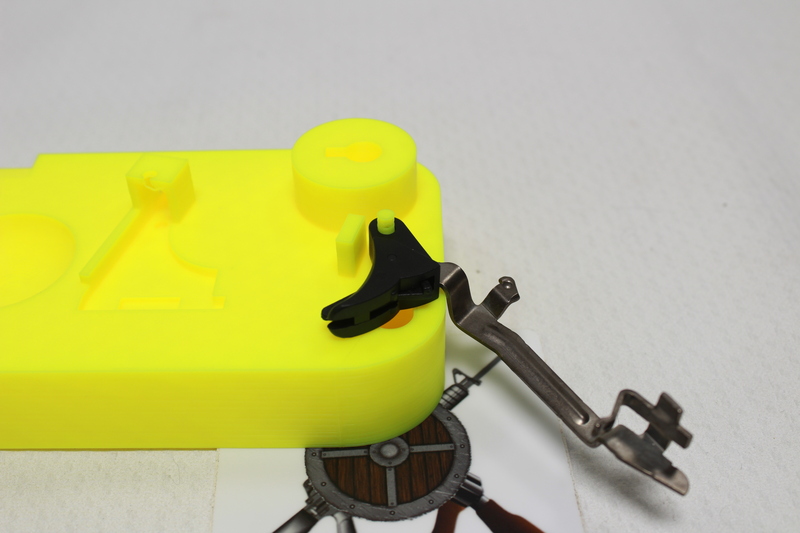
GlockSmith Block Naked Showing New PinsSo far it has spots for:

– Trigger Shoe Removal and Install

GlockSmith Block Trigger Shoe Pin Install GlockSmith Block Trigger Shoe Pin Remove

– Connector Adjustments

GlockSmith Block Connector Adjuster

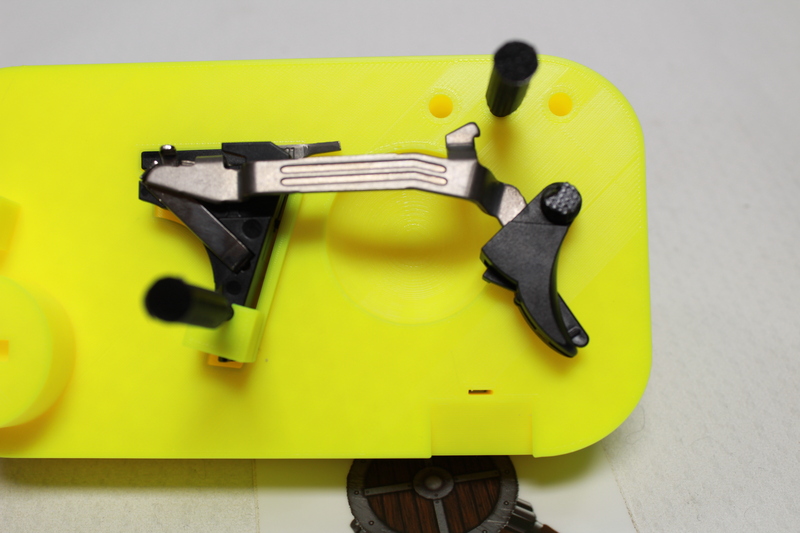
– Trigger Jig

GlockSmith Block Trigger Jig

Showing the new pins:

GlockSmith Block Trigger Jig New Pin
GlockSmith Block Trigger Jig with new pin

– Firing Pin Spring and Cup(s) replacement

GlockSmith Block Firing Pin

It has been working out pretty good for me. If you have suggestions or ideas hit me up using the info below.

Download HERE

Hit us up with comments or requests

All Documents posted on this site are for informational use only. If you make ANY modifications to your Weapons based on this site, you do at your own risk! If done incorrectly, you can render you weapon unsafe and / or unusable.

More HERE: https://viking-armory.com/?page_id=723

Glock Performance Trigger Tool

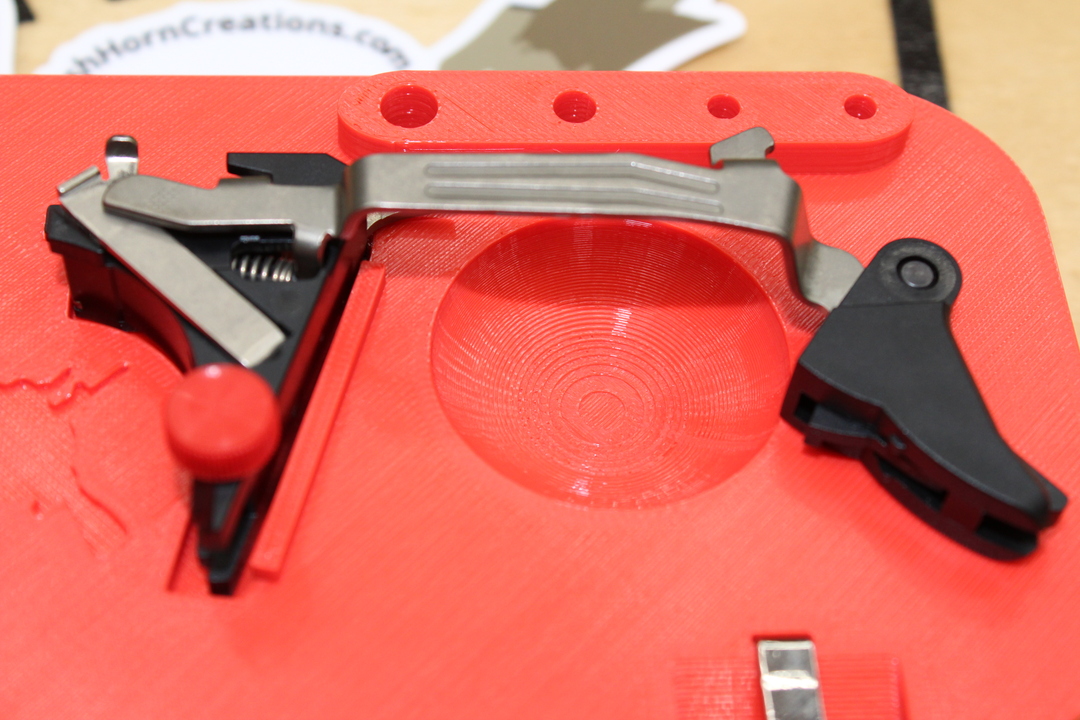
Putting the trigger bar back in place on Glocks performance trigger is a PITA. I created this very little tool to help out.

Instructions:

Here is a quick Video:

– Push the Trigger Spring with Sear-holder up

Trigger Spring with Sear-holder

– Slide the Performance Trigger Tool through the round hole, opposite side of where the trigger bar will slide in

Slide the Performance Trigger Tool 02 Slide the Performance Trigger Tool 01

– Push the Trigger Spring with Sear-holder down, holding it in the down position ensuring the spring rod pushes on the slave pin.

Push the Trigger Spring with Sear-holder down

– Install the trigger bar making sure that the lower extension / pin is in the Performance Trigger Tools open hole.

Install the trigger bar

– Slide out the Performance Trigger Tool

Slide out the Performance Trigger Tool

Ready to install!

Buy it from our EBAY store!

Hit us up with comments or requests

DISCLAIMER: “GLOCK” is a federally registered trademark of GLOCK, Inc. and is one of many trademarks owned by GLOCK, Inc. or GLOCK Ges.mbH. Neither Viking Armory nor this site are affiliated in any manner with, or otherwise endorsed by, GLOCK, Inc. or GLOCK Ges.mbH. The use of “GLOCK” on this page is merely to advertise the sale of Glock parts, or components. For genuine GLOCK, Inc. and GLOCK Ges.mbH products and parts visit www.glock.com

All Documents posted on this site are for informational use only. If you make ANY modifications to your Weapons based on this site, you do at your own risk! If done incorrectly, you can render you weapon unsafe and / or unusable.

More HERE: https://viking-armory.com/?page_id=723
Foredom Yoke

I wanted to make a Yoke assembly for my Foredom motor, something like this one.

I had this big bearing from a previous project. This led me to create 2 versions:

Big Bearing:

Foredom Yoke Large Bearing Foredom Yoke Large Bearing Base

And a standard 608 Skate Board Bearing  version:

Foredom Yoke Skate Bearing

The insert works for both:

Foredom Yoke Screw Insert

Looks and works pretty good! I have been using the large bearing version for around 6 months with no issue. I am not a heavy Foredom user, it is a tool in my tool box.

Foredom Yoke Complete

Download HERE

Hit us up with comments or requests

Glock Safety Plunger Holder and Polishing

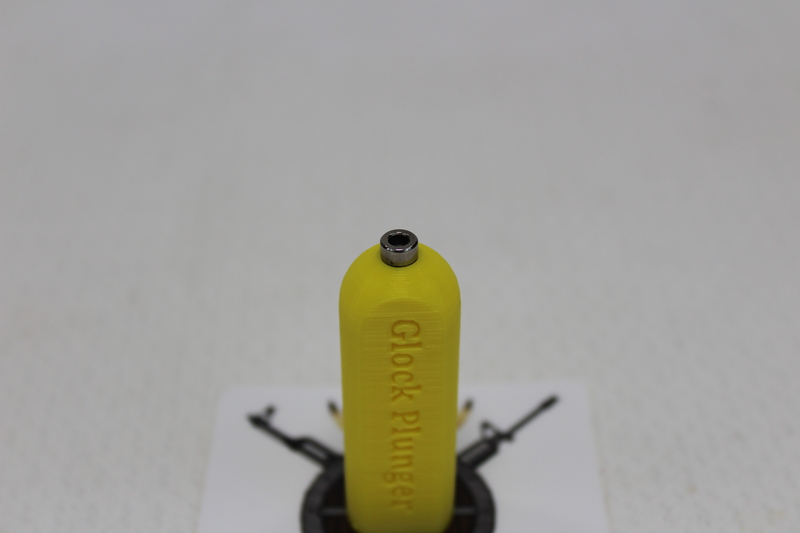
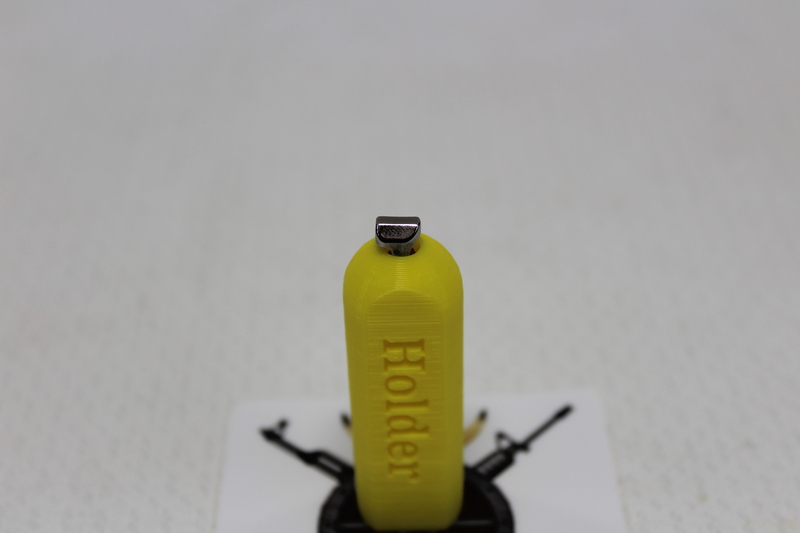
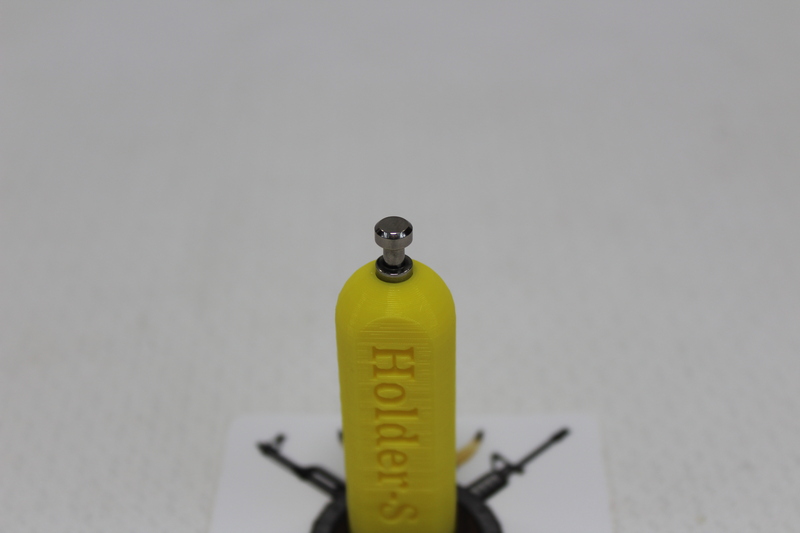
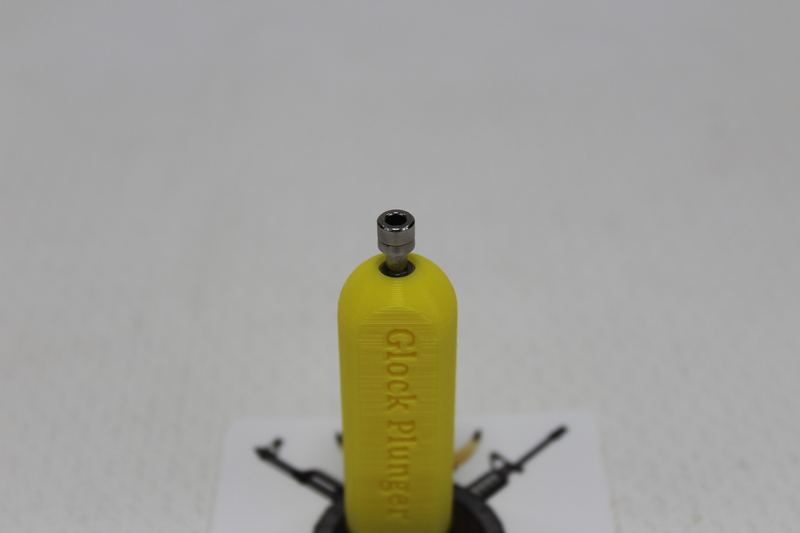
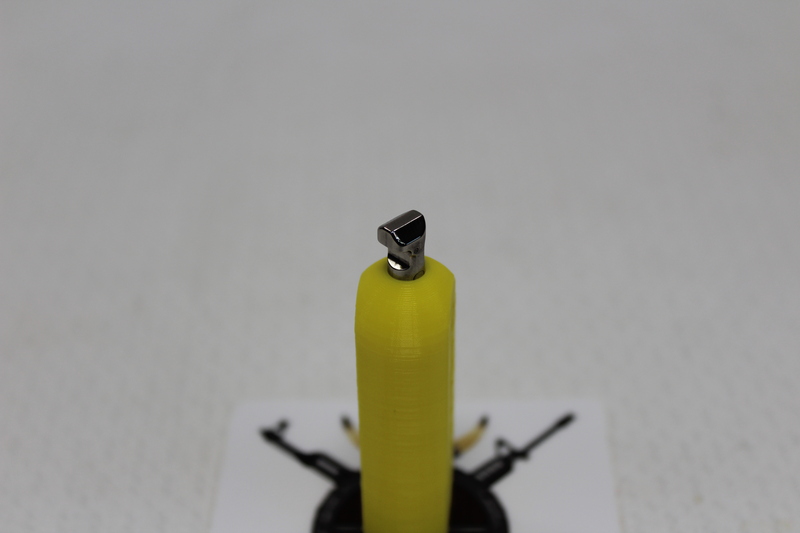
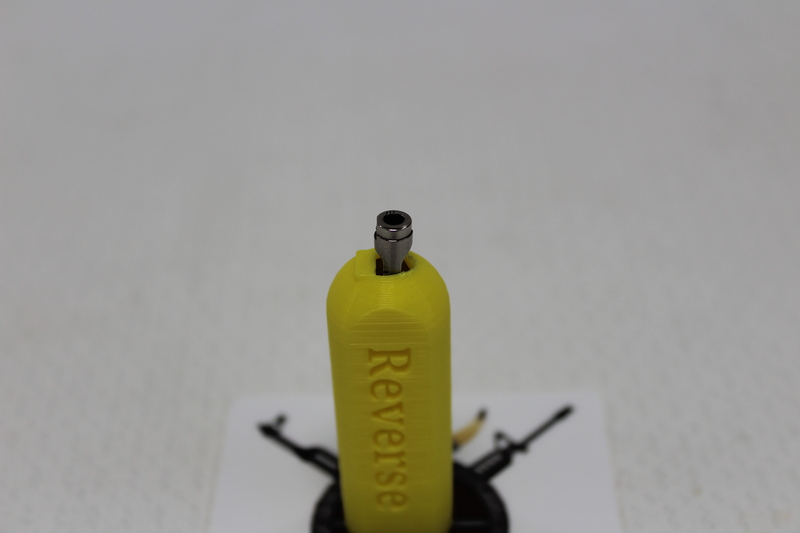
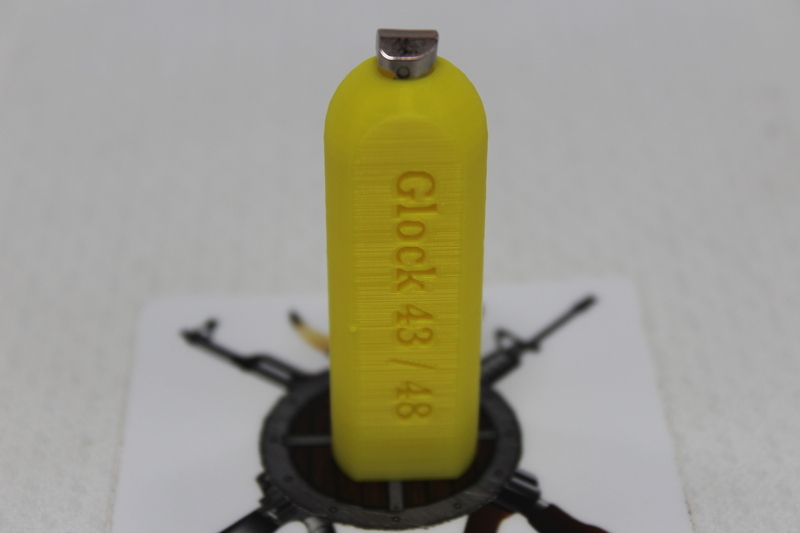
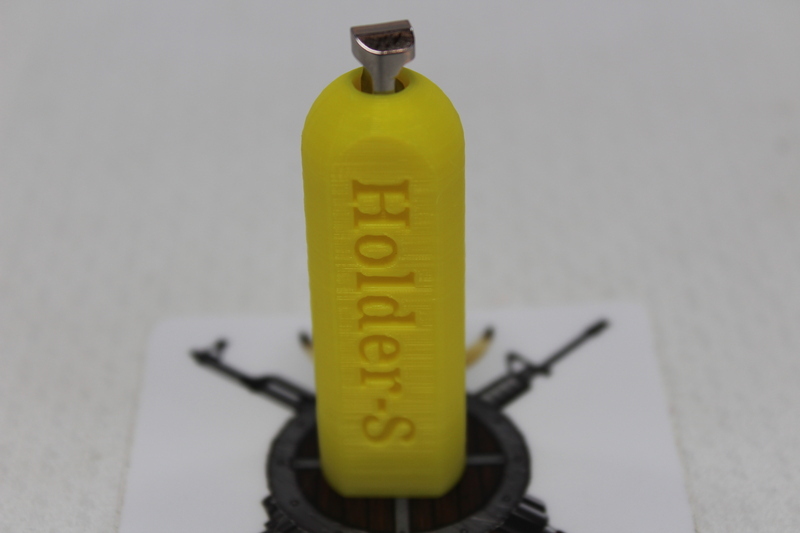
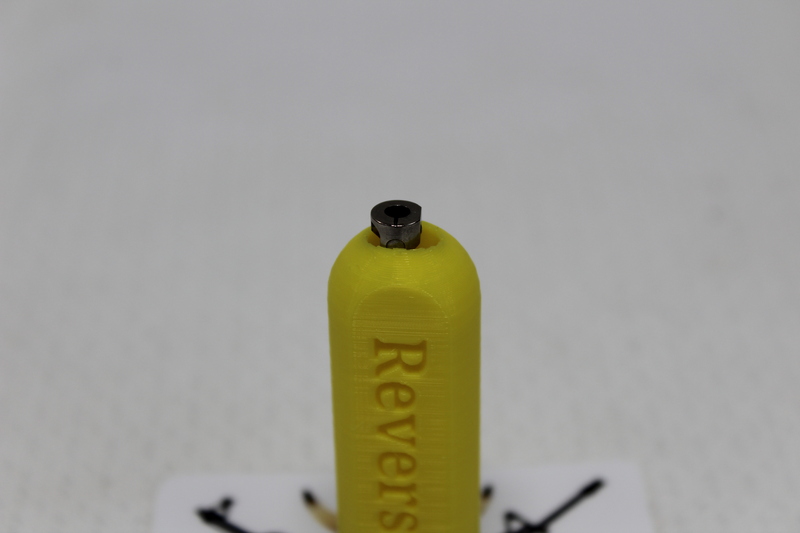
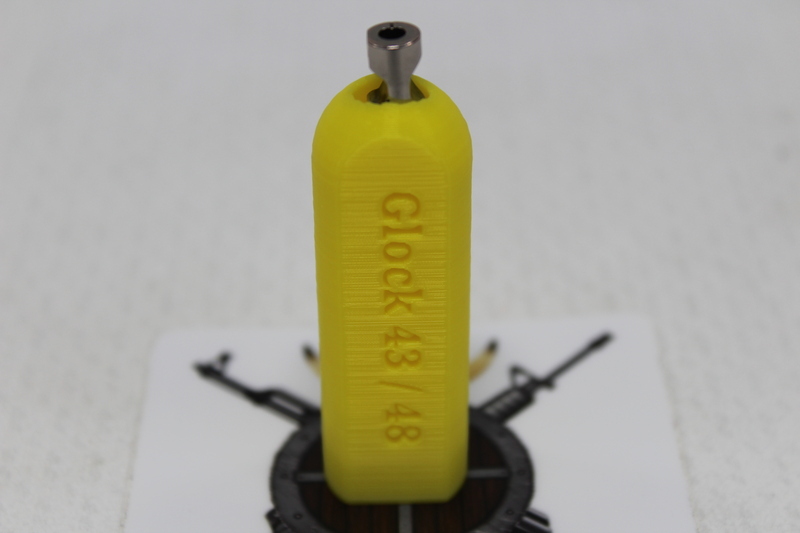
When polishing any small part like the Glock safety plunger using buffung wheels on my grinder the part would at times go flying out and get damaged or temporarly lost. To help with that I create and print the Glock Safety Plunger Holder. I have different versions for different models and generations:

Plunger Holder.stl:

Glock Gen 1-5 Sfty Holder
Plunger Holder.stl
Glock Gen 1-5 Sfty Holder Reverse
Plunger Holder.stl

Gen 5:

Glock Gen 1-5 Sfty Holder with Gen 5
Plunger Holder.stl

Plunger Holder Shallow.stl

Glock Gen 1-5 Sfty Holder Shallow
Plunger Holder Shallow.stl
Glock Gen 1-5 Sfty Holder Shallow Reverse
Plunger Holder Shallow.stl

Gen 5:

Glock Gen 1-5 Sfty Holder Shallow with Gen 5
Plunger Holder Shallow.stl

Plunger Holder with Lip.stl – I am testing this one out. I added the lip to see if it would help hold the Glock Safety Plunger a bit better…

Glock Gen 5 Sfty Holder with lip Gen 5
Plunger Holder with Lip.stl

Plunger Holder G43 G48.stl

Glock G43-G48 Sfty Holder
Plunger Holder G43 G48.stl

Plunger Holder G43 G48 Shallow.stl

Glock G43-G48 Sfty Holder Shallow
Plunger Holder G43 G48 Shallow.stl

Plunger Holder G43 G48 Reverse.stl

Glock G43-G48 Sfty Holder Reverse
Plunger Holder G43 G48 Reverse.stl

Plunger Holder G43 G48 Reverse Shallow.stl

Glock G43-G48 Sfty Holder Shallow Reverse
Plunger Holder G43 G48 Reverse Shallow.stl

I usually print these up when I have just a bit of filament left. Then toss it in a drawer till needed.

Hit us up with comments or requests

https://www.thingiverse.com/thing:5926916

All Documents posted on this site are for informational use only. If you make ANY modifications to your Weapons based on this site, you do at your own risk! If done incorrectly, you can render you weapon unsafe and / or unusable.

More HERE: https://viking-armory.com/?page_id=723
Glock 48 Dry Fire Thing

I want to do some dry fire training without having to rack the slide each time. I created my own version of the zip tie or cardboard hack for Glocks. Google it, lots of info out there.

It is a low profile and in my opinion a bit ‘cleaner’ so I can use all my holsters, without any other changes to the weapon.

With this method, the trigger no longer has reset and break. Instead it just moves freely back and forth. It is not ideal, but allows dry fire training without cycling the firearm.


Glock Dry Fire Trigger Thing Right Side Up Glock Dry Fire Trigger Thing Upside DownGlock Dry Fire Trigger Thing Installed

Hit us up with comments or requests

All Documents posted on this site are for informational use only. If you make ANY modifications to your Weapons based on this site, you do at your own risk! If done incorrectly, you can render you weapon unsafe and / or unusable.

More HERE: https://viking-armory.com/?page_id=723

Glock Trigger Jig Update

I did not like the way the trigger housing moved when manipulating the trigger. So I added a brace. I printed it with tree supports that need to be cleaned up before using it.

Glock Trigger Jig v2 Empty

Works pretty good!

Glock Trigger Jig v2

Download HERE

Hit us up with comments or requests

All Documents posted on this site are for informational use only. If you make ANY modifications to your Weapons based on this site, you do at your own risk! If done incorrectly, you can render you weapon unsafe and / or unusable.

More HERE: https://viking-armory.com/?page_id=723

Glock 48 Rail Mount

The glock 48 front rail is smaller than standard rails making it much harder to find anything that fits it. To help remedy this I made two slide over versions:

Picatinny:

Glock 48 Rail Mount Picatinny Top Glock 48 Rail Mount Picatinny Bottom

And a Mantis X mount:

Glock 48 Rail Mount Mantis Bottom Glock 48 Rail Mount Mantis Top

I would not use it for EDC / real world use. I made it to mount my Mantis trainer and various lights to see if I would like them on this weapon.

I plan on making a more secure version soon.

Download HERE

Hit us up with comments or requests

All Documents posted on this site are for informational use only. If you make ANY modifications to your Weapons based on this site, you do at your own risk! If done incorrectly, you can render you weapon unsafe and / or unusable.

More HERE: https://viking-armory.com/?page_id=723

A bore guide with holding pin for AR-10 .308

I have been using a bore guide on my AR15s for several years. I recently purchased a .308 AR10 and set out to make one for it.

I liked @ThomasXIII threaded middle shown HERE  So I made mine with the same threaded center.

AR-10 / 308 Bore Guide and Link Pin Family Shot

I also made a hold down pin to keep everything in place.

AR-10 / 308 Bore Guide and Link Pin All Together

Fits snug and have had no issues passing my cleaning rod with swabs.

AR-10 /308 Bore Guide and Link Pin Working
AR-10 / 308 Bore Guide and Link Pin installed

Hit us up with comments or requests

All Documents posted on this site are for informational use only. If you make ANY modifications to your Weapons based on this site, you do at your own risk! If done incorrectly, you can render you weapon unsafe and / or unusable.

More HERE: https://viking-armory.com/?page_id=723

BCG to Buffer Space Gauge aka 2 Quarter Tool

I think School of the American Rifle started the 2 quarter spacing from the AR15 gas key and the receiver extension. I can not find an exact minimum spacing in the Army TM 9-1005-249-23&P Nov 2008. It makes too much sense for it not to be in there. If someone knows let me know and I will put it in the references.

I never have quarters in my pocket when I am working and if I do I will only have 2, what if I need it to fix a spacing issue? So I came up with this little gem.

It measures 2 quarters / 3.5mm thick and has a few stops to help hold it in place while you are cramming your BCG back trying to get the gauge.

BCG to Buffer Space Gauge aka 2 Quarter Tool
BCG to Buffer Space Gauge aka 2 Quarter Tool with quarters

Stops to help hold it:

BCG to Buffer Space Gauge aka 2 Quarter Tool
BCG to Buffer Space Gauge aka 2 Quarter Tool with support stops

Opening to let the BCG slide in:

BCG to Buffer Space Gauge aka 2 Quarter Tool
BCG to Buffer Space Gauge aka 2 Quarter Tool with opening

Showing the gap:

BCG to Buffer Space Gauge aka 2 Quarter Tool in use

Ref:

https://www.usmint.gov/learn/coin-and-medal-programs/coin-specifications

Posted on Thiniverse

Hit us up with comments or questions

All Documents posted on this site are for informational use only. If you make ANY modifications to your Weapons based on this site, you do at your own risk! If done incorrectly, you can render you weapon unsafe and / or unusable.

More HERE: https://viking-armory.com/?page_id=723

Reddit
error: Content is protected !!