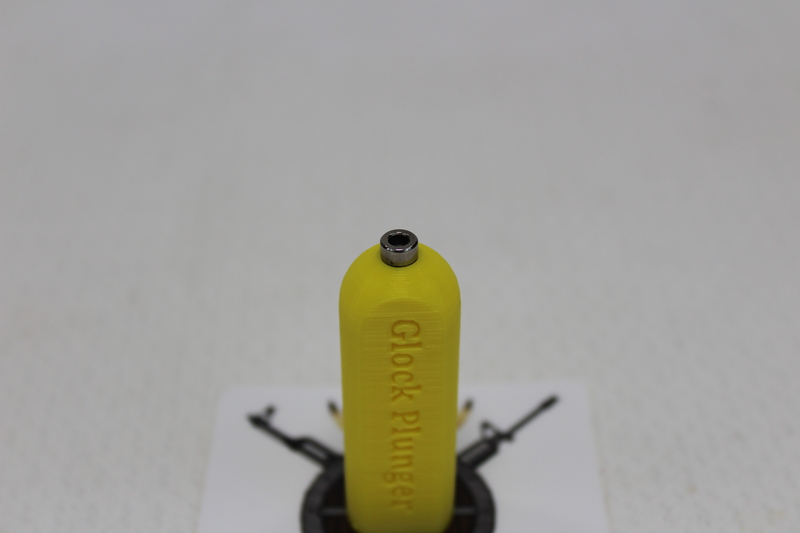
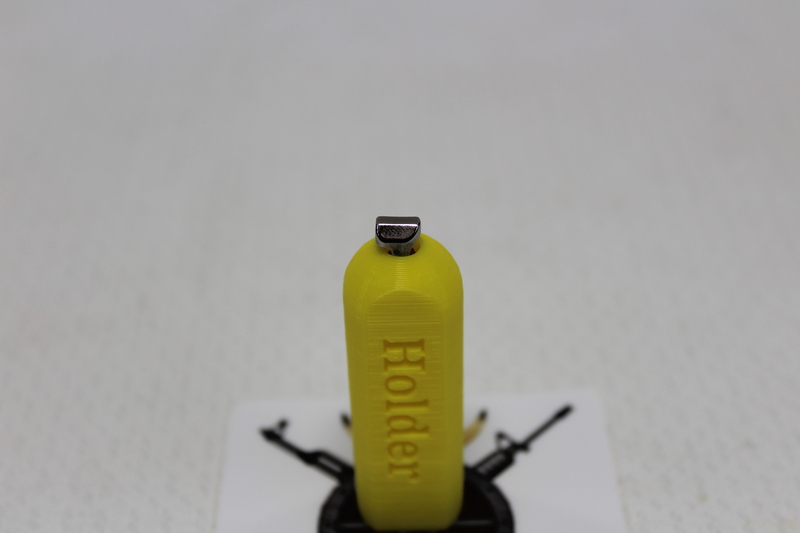
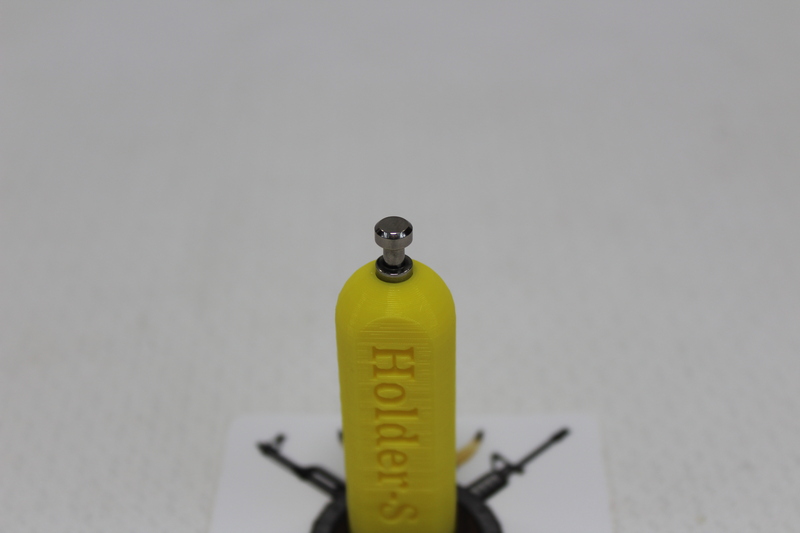
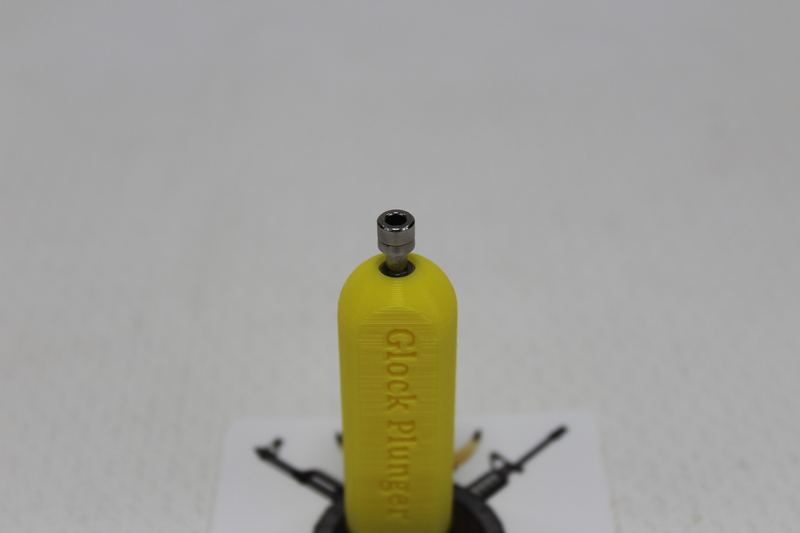
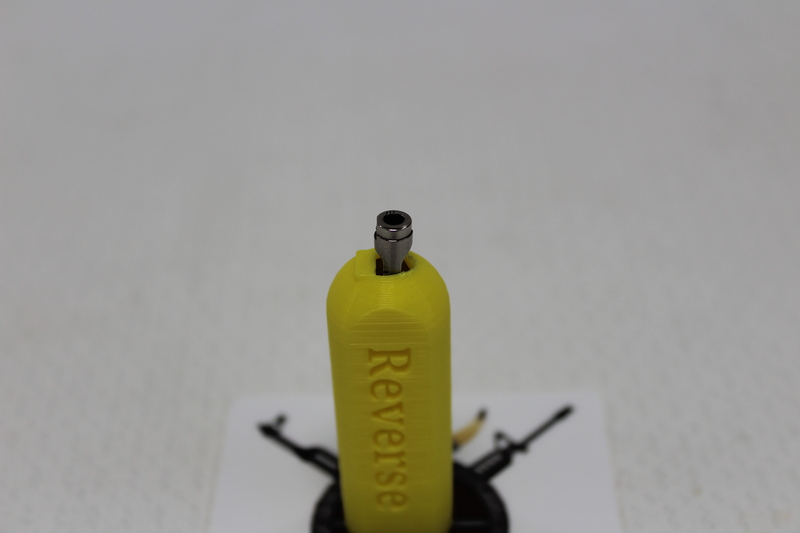
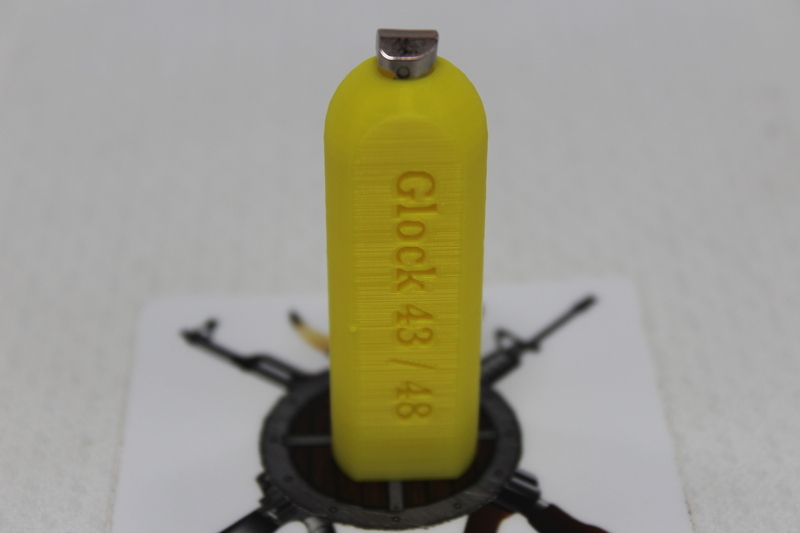
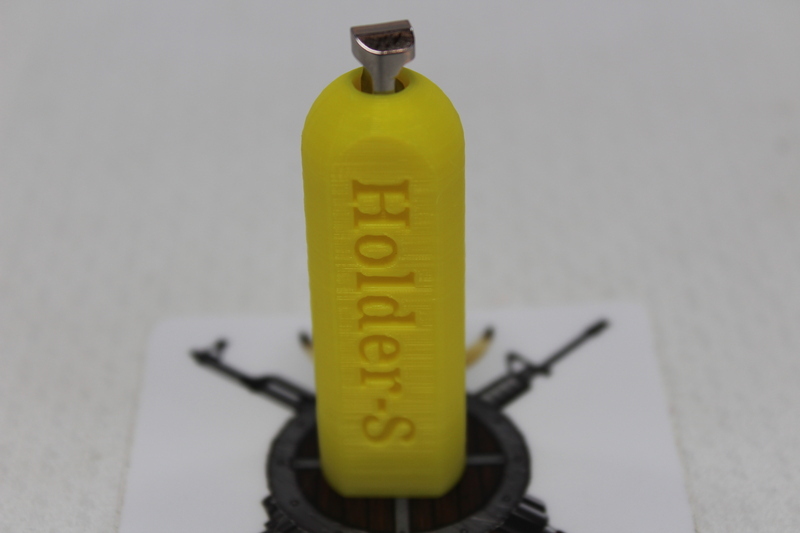
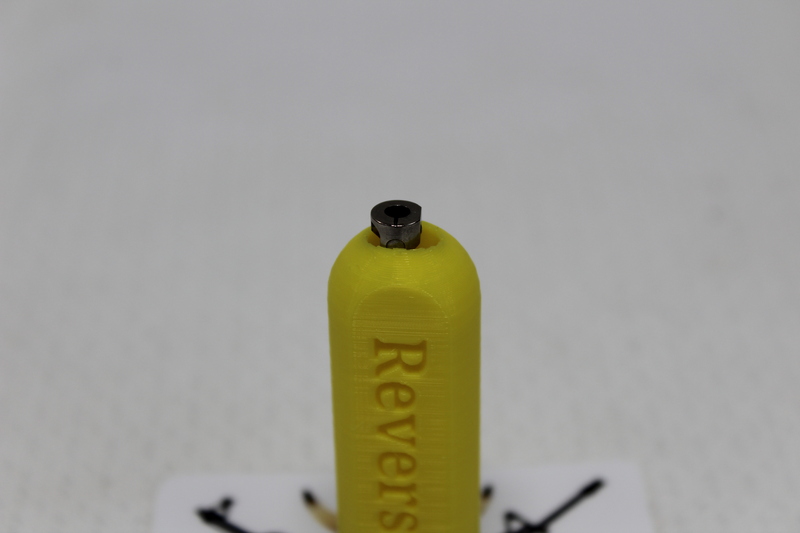
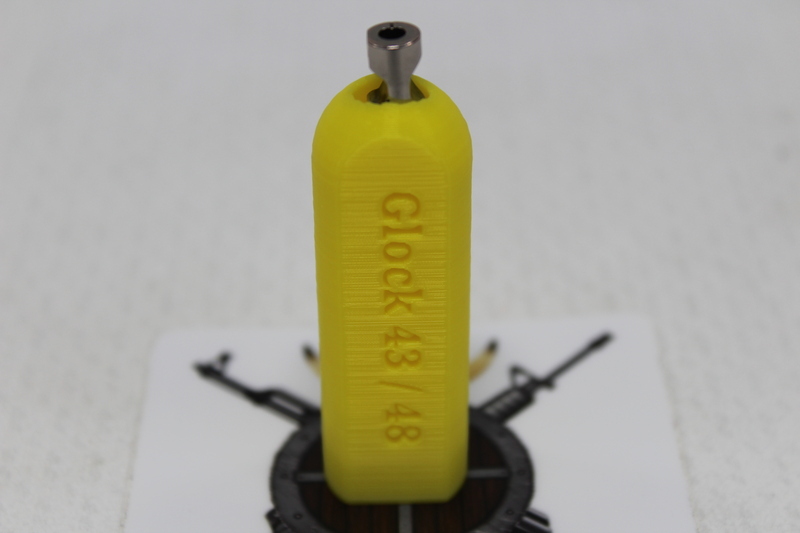
When polishing any small part like the Glock safety plunger using buffung wheels on my grinder the part would at times go flying out and get damaged or temporarly lost. To help with that I create and print the Glock Safety Plunger Holder. I have different versions for different models and generations:
All Documents posted on this site are for informational use only. If you make ANY modifications to your Weapons based on this site, you do at your own risk! If done incorrectly, you can render you weapon unsafe and / or unusable.
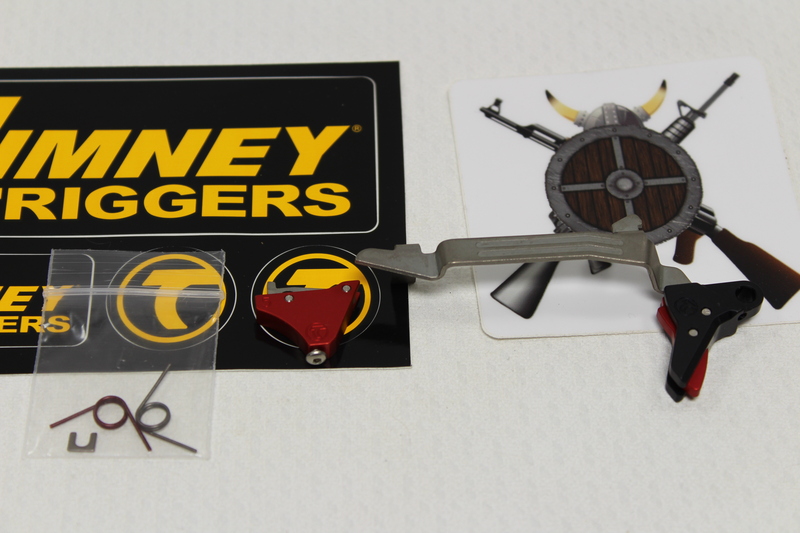
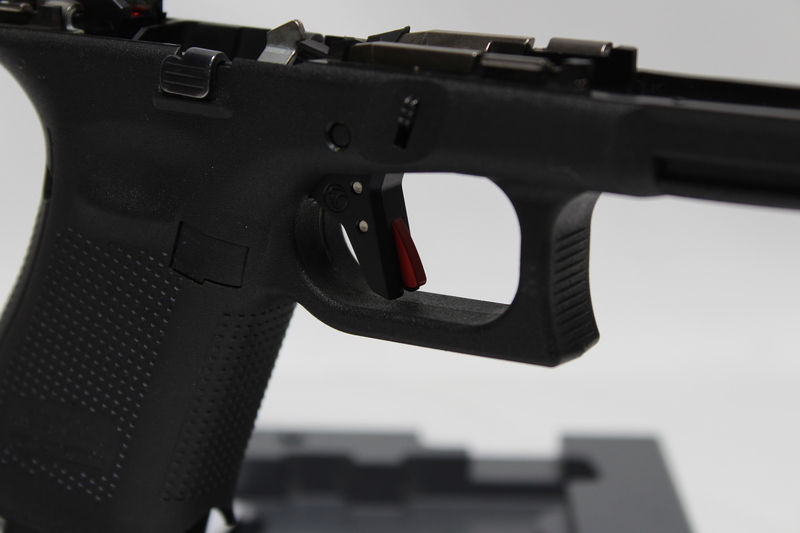
Here is a recent Timney trigger I installed. This post is not to show how to install it or review it. There are plenty of articles on both out in the wild. This is just to show what one of my installs for this product look like:
This is what you get:
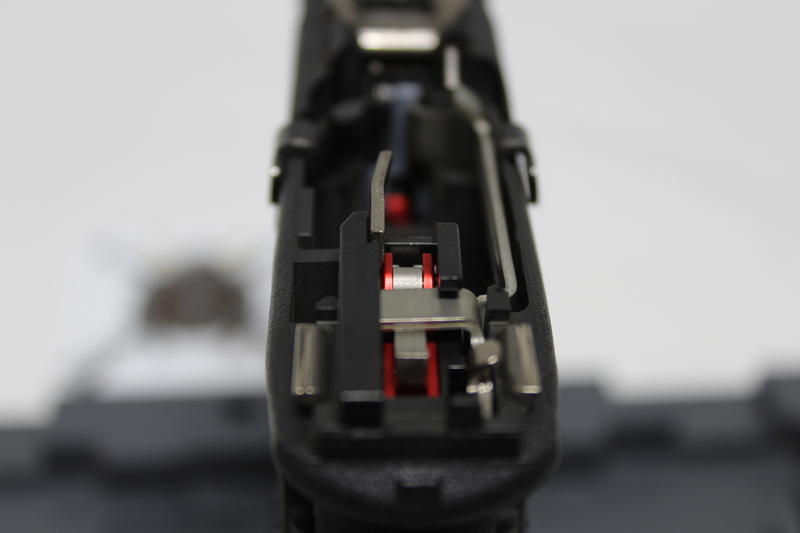
Slide it in place:
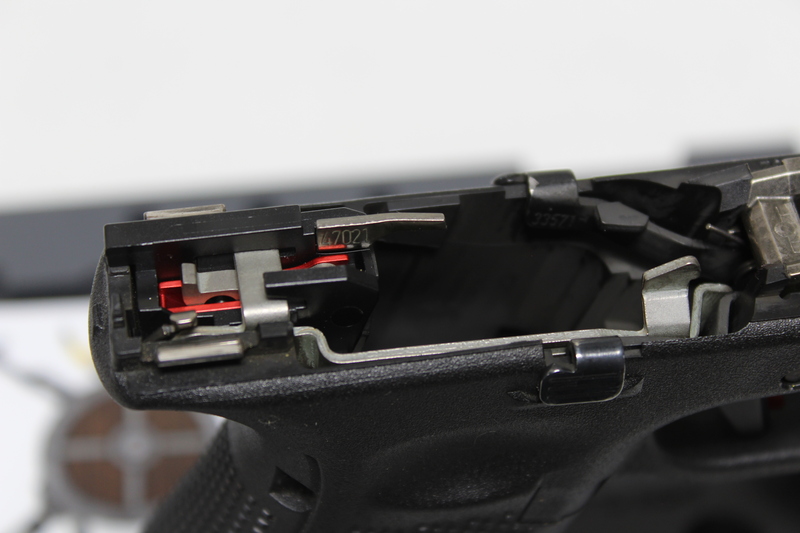
Put the pins back in:
Drop the slide back on, function check and ready to shoot!
All Documents posted on this site are for informational use only. If you make ANY modifications to your Weapons based on this site, you do at your own risk! If done incorrectly, you can render you weapon unsafe and / or unusable.
I did not like the way the trigger housing moved when manipulating the trigger. So I added a brace. I printed it with tree supports that need to be cleaned up before using it.
All Documents posted on this site are for informational use only. If you make ANY modifications to your Weapons based on this site, you do at your own risk! If done incorrectly, you can render you weapon unsafe and / or unusable.
Glock pistols are mass produced using stamped parts. That is not a bad thing, just the way it is. Because of that, a part will sneak in with a less than desirable finish. I am of the belief that you should inspect all you parts for defects and burrs.
In this case, I found a bur on the safety plunger.
Glock Sfty Plunger burr pointed out
I filed down the burr with a small file, being careful not to remove to much material.
Glock Sfty Plunger burr filed down
When it met my stringent standards I polished it up:
Glock Sfty Plunger Polished sideGlock Sfty Plunger Polished Top
All Documents posted on this site are for informational use only. If you make ANY modifications to your Weapons based on this site, you do at your own risk! If done incorrectly, you can render you weapon unsafe and / or unusable.
We all know the factory Glock sights are notoriously poor, so let me replace them! I take a lot of care to make sure the sights on your pistol are installed and aligned correctly. I have a very nice sight pusher tool that drifts the sights on and off without the need of a punch or hammer. Using such a tool protects tritium vials from breaking, prevents marring of the slide, and the sights.
All Documents posted on this site are for informational use only. If you make ANY modifications to your Weapons based on this site, you do at your own risk! If done incorrectly, you can render you weapon unsafe and / or unusable.
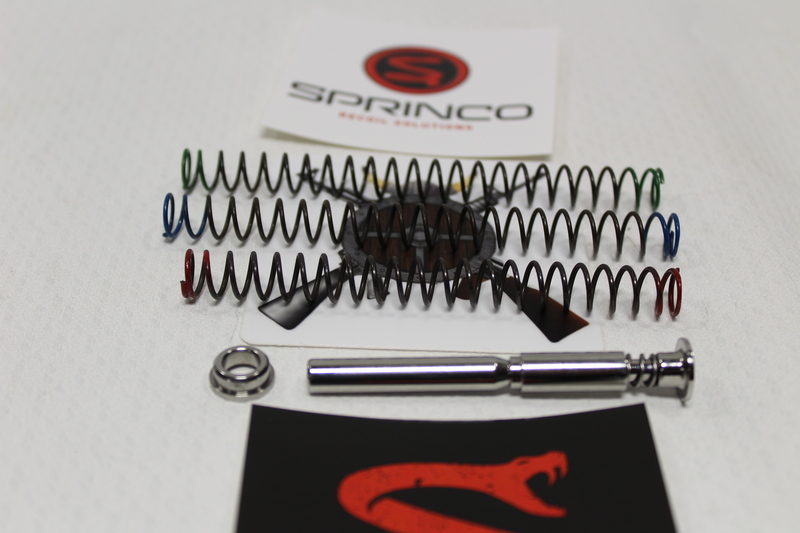
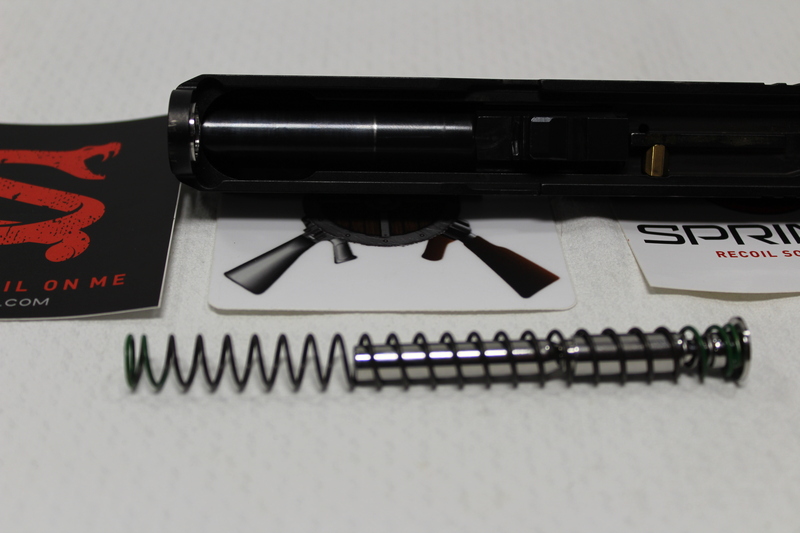
I just picked up the Recoil Management System, Versatility Kit from the great folks at SpringCO for my Glock 19 Gen 5. I wanted to show what I did to get it installed. It was pretty straight forward and easy to do.
Here are the parts that came in the package.
SpringCO Glock Recoil Management System Whats Included
I am going to install the Green 13# spring. As this is a non-captured setup I will be trying the 15 and 17 pound springs in the near future and keeping the one I like best and works best for my situation.
SpringCO Glock Recoil Management System what I am installing
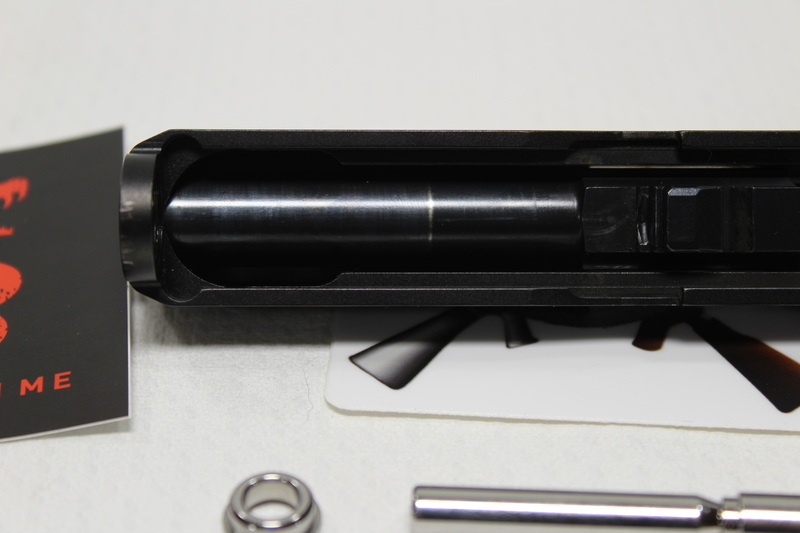
Remove the existing recoil spring
SpringCO Glock Recoil Management System remove the old
Make sure the Guide Rod Forward Bushing goes in with the small section forward as show in the picture:
SpringCO Glock Recoil Management System Bushing direction
Here are a couple more shots of what it should look like:
SpringCO Glock Recoil Management System Bushing Direction 2
Front:
SpringCO Glock Recoil Management System Bushing Direction front view
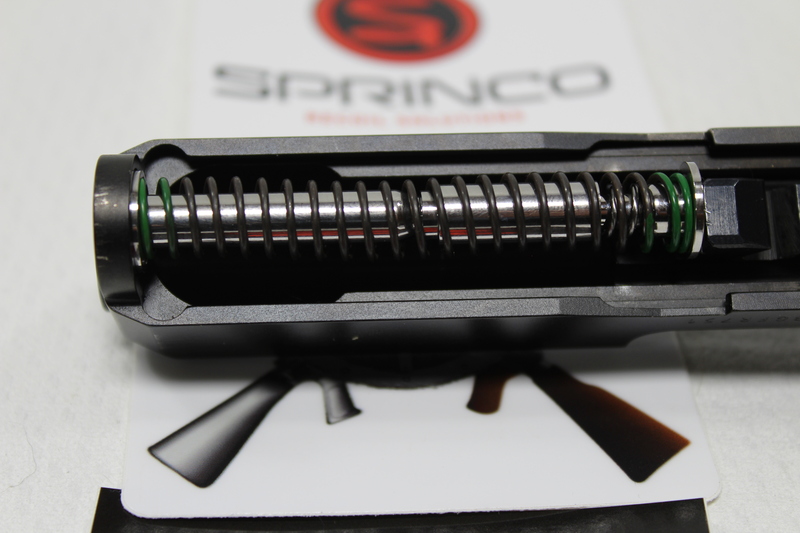
Slide the spring you want to use on the guide rod:
SpringCO Glock Recoil Management System Bushing slide on the spring
Place the spring in the Guide Rod Forward Bushing and carefully push in place. The guide rod will fit into the hole in the bushing.
The guide rod will fit into the hole in the bushing.
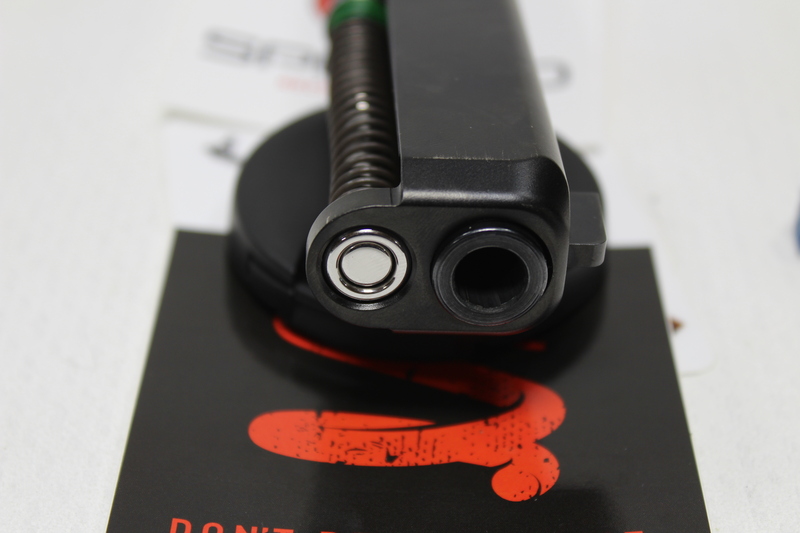
After everything is lined up everything will fit like the original.
After everything is lined up everything will fit like the original.
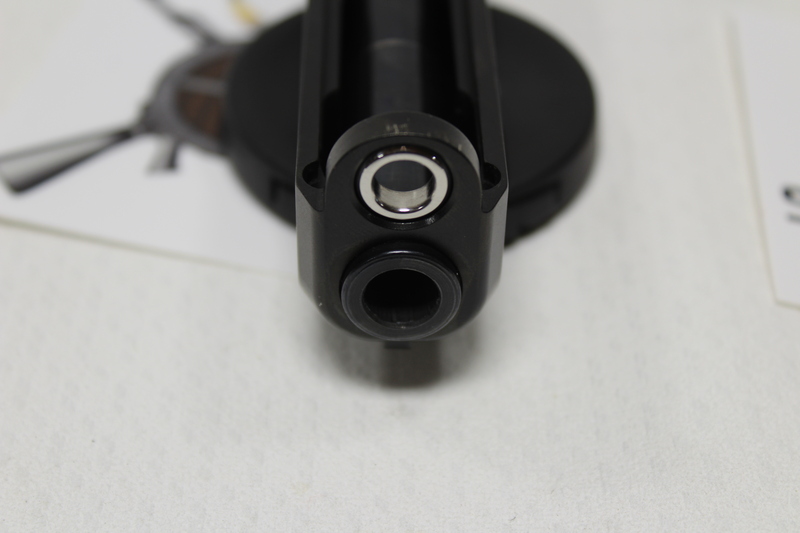
Front shot of how the bushing should look:
SpringCO Glock Recoil Front shot of how the bushing should look
There are several videos that explain what is going on with the system when it is installed. I wanted to share my experience getting it installed.
All Documents posted on this site are for informational use only. If you make ANY modifications to your Weapons based on this site, you do at your own risk! If done incorrectly, you can render you weapon unsafe and / or unusable.
A quick jig to hold your Glock Trigger for maintenance and / or training. Kinda cool to pull the trigger and see how things work.
Also good if you are doing something like the 25¢ trigger job. See how everything is running before you drop it back in.
A quick jig to hold your Glock Trigger without trigger
I include the white trigger pin file ‘Glock Trigger Jig Pin.stl’. I just use one of the extra pins that come with the back straps for the trigger housing pin. I print it with supports, round part on the bed.
A quick jig to hold your Glock Trigger with trigger
All Documents posted on this site are for informational use only. If you make ANY modifications to your Weapons based on this site, you do at your own risk! If done incorrectly, you can render you weapon unsafe and / or unusable.