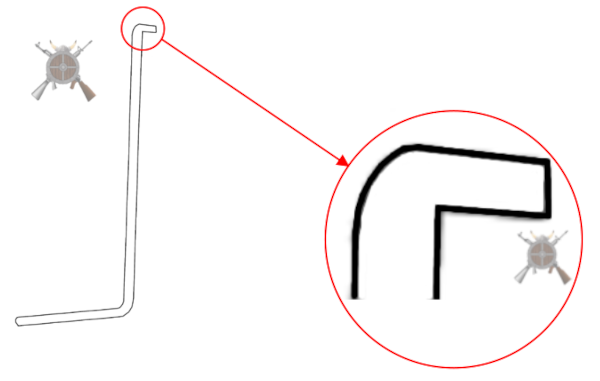
I want to give my Glock 44 as many rounds as my Glock 19. To do so I made some changes to the alex alex Glock 44 15 round magazine upgrade found in several places on the internet. I started with foxalexextension found on HERE on thingiverse. I added a slot for the magazine spring and side catches to help it hold better. My remix can be found HERE
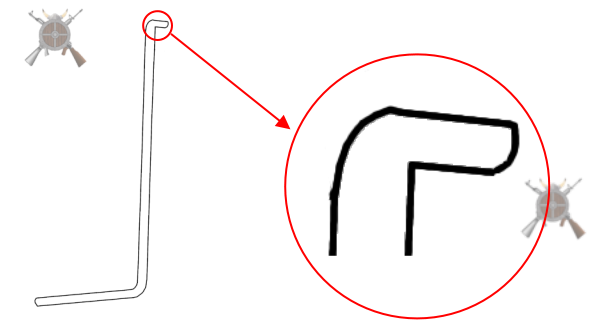
Magazine 5 round extension
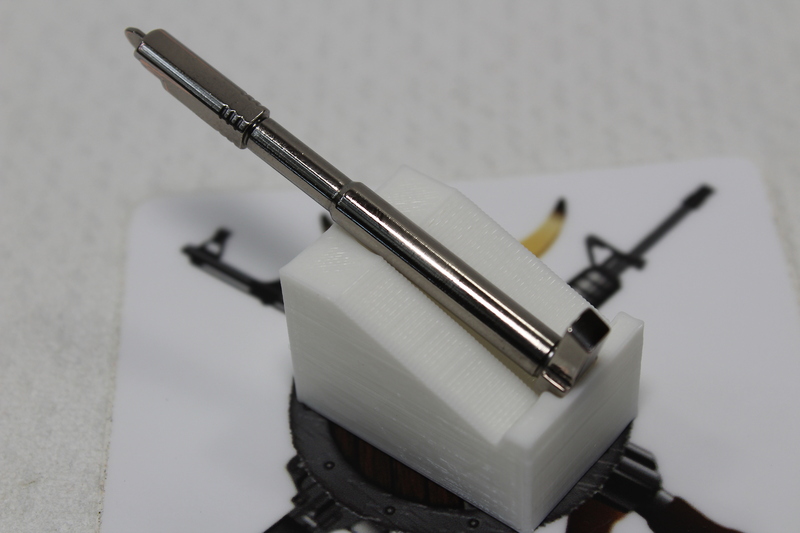
I used THIS follower. Make sure it is clean with no sharp edges and overhangs.
Glock 44 15 round magazine follower
I attached it to a Walther PPQ 22 15+1 Replacement Magazine Spring. I did not want stretch my factory spring as suggested in some of the online articles. I like to keep all my factory parts as original as I can.
Glock 44 15 round magazine springGlock 44 15 round magazine follower and spring
Then I slid the spring assembly into the magazine and made sure it slid without getting caught and hanging up on anything.
Glock 44 15 round magazine spring install
Slid the base back on:
Glock 44 15 round magazine base plate
For the final product:
G44 15 round mag complete
I put around 100 rounds through it so far without issues. I will try and keep this post updated.
Do a basic polish. When that is done put a very slight bevel on the face of the ledge.
Side Drawing and Picture of connector before:
Connector Side Factory Edge Pop OutConnector Side Factory Edge
Very slightly bevel the face of the ledge.
Connector Side Modified Edge Pop OutExample Side Modified Edge
All Documents posted on this site are for informational use only. If you make ANY modifications to your Weapons based on this site, you do at your own risk! If done incorrectly, you can render you weapon unsafe and / or unusable.
All Documents posted on this site are for informational use only. If you make ANY modifications to your Weapons based on this site, you do at your own risk! If done incorrectly, you can render you weapon unsafe and / or unusable.
The above are average measurements. It is polymer, it moves so you will not get consistent measurements. They are mass produced and can vary in size between batch runs. The trigger I had at the time had the above measurements. Yours might vary. “A” was my distance to the center of the trigger bar slot.
We want to get the screw hole centered in front of the trigger bar slot (A) left to right and at the height of the front curve.
You are going to need Standard Trigger:
 2 - 56 3/16 long stainless steel socket set screw
 2 - 56 3/8 long stainless steel socket set screw for trigger bar
 .035 Allen Wrench
 #50 drill bit
 2 - 56 tapered tap
You are going to need Performance Trigger:
 2 - 56 3/16 long stainless steel socket set screw
 2 - 56 3/8 long stainless steel socket set screw for trigger bar
 .035 Allen Wrench
 #50 drill bit
 2 - 56 tapered tap
Using the #50 drill bit, drill a hole 9 mm down and center of the trigger bar slot. Make sure it is straight. I use my Dremel Drill press to do this. Slowly work the 2 – 56 tap through it.
Front Shot:
Looks pretty centered:
While I am at it, I drilled and tapped the safety and trigger bar holes with the above tools and threaded in 2 – 56 x 3/8” set screws
Once I am confident that everything is setup correctly, I will seal the deal with Loctite 425
I modified the safety on this trigger as well
Here is what the trigger safety looks like unmodified:
There are 4 different cuts I am going to try.
Never cut off more than shown in the last example.
All Documents posted on this site are for informational use only. If you make ANY modifications to your Weapons based on this site, you do at your own risk! If done incorrectly, you can render you weapon unsafe and / or unusable.
All Documents posted on this site are for informational use only. If you make ANY modifications to your Weapons based on this site, you do at your own risk! If done incorrectly, you can render you weapon unsafe and / or unusable.
Using the polishing items in the notes HERE I did the example below:
Here are is a before shot:
I am trying to show the firing pin face in this one. Notice the grooves:
General Cleaning / Shine polish to all areas. Careful not to remove too much from the YELLOW areas and the firing pin tip.
The Face area is what you want to get butt ass smooth.
All Documents posted on this site are for informational use only. If you make ANY modifications to your Weapons based on this site, you do at your own risk! If done incorrectly, you can render you weapon unsafe and / or unusable.
DISCLAIMER: “GLOCK” is a federally registered trademark of GLOCK, Inc. and is one of many trademarks owned by GLOCK, Inc. or GLOCK Ges.mbH. Neither Viking Armory nor this site are affiliated in any manner with, or otherwise endorsed by, GLOCK, Inc. or GLOCK Ges.mbH. The use of “GLOCK” on this page is merely to advertise the sale of Glock parts, or components. For genuine GLOCK, Inc. and GLOCK Ges.mbH products and parts visit www.glock.com
All Documents posted on this site are for informational use only. If you make ANY modifications to your Weapons based on this site, you do at your own risk! If done incorrectly, you can render you weapon unsafe and / or unusable.
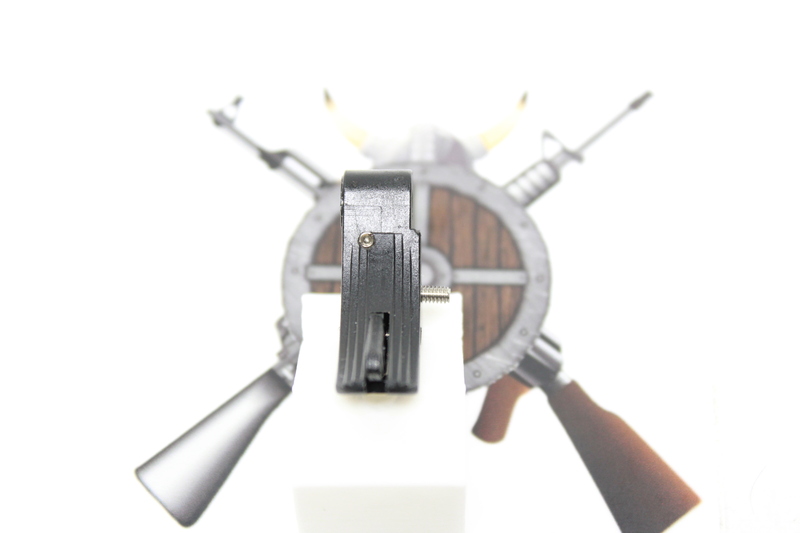
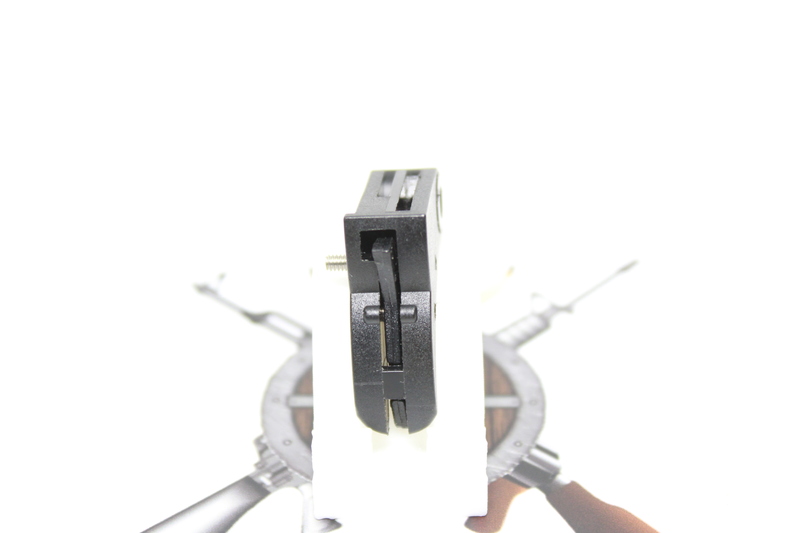
I want to do some dry fire training without having to rack the slide each time. I created my own version of the zip tie or cardboard hack for Glocks. Google it, lots of info out there.
It is a low profile and in my opinion a bit ‘cleaner’ so I can use all my holsters, without any other changes to the weapon.
With this method, the trigger no longer has reset and break. Instead it just moves freely back and forth. It is not ideal, but allows dry fire training without cycling the firearm.
All Documents posted on this site are for informational use only. If you make ANY modifications to your Weapons based on this site, you do at your own risk! If done incorrectly, you can render you weapon unsafe and / or unusable.
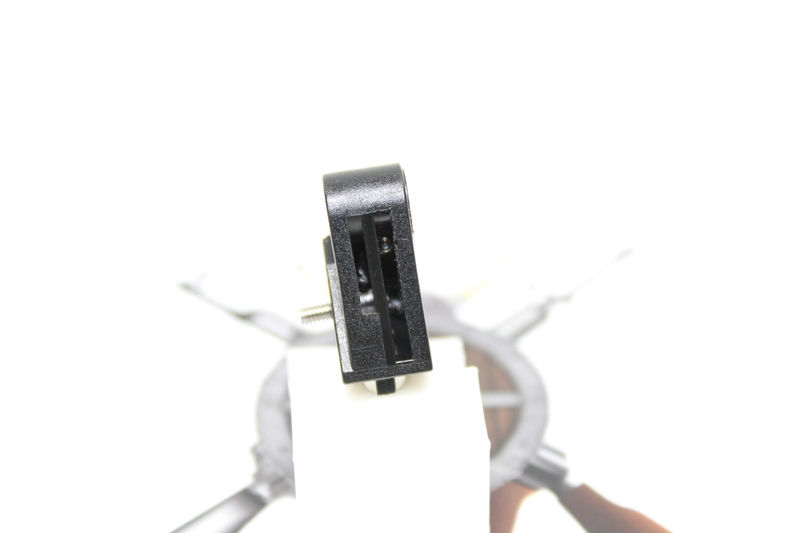
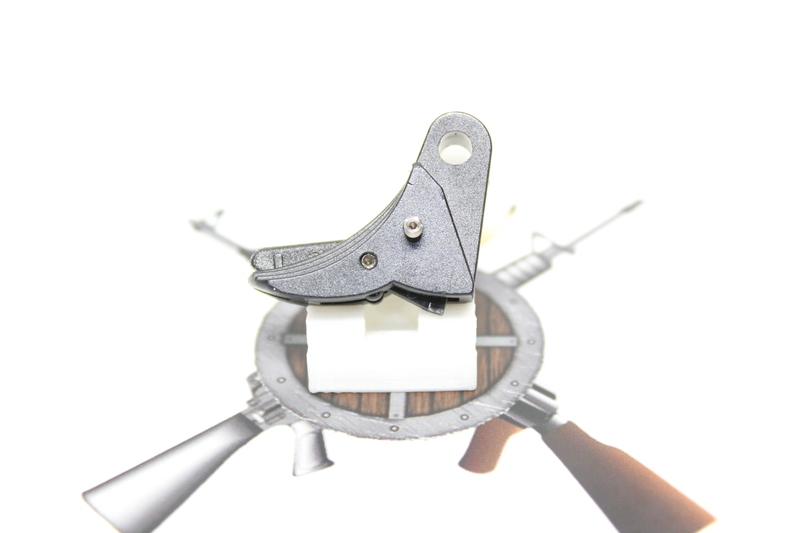
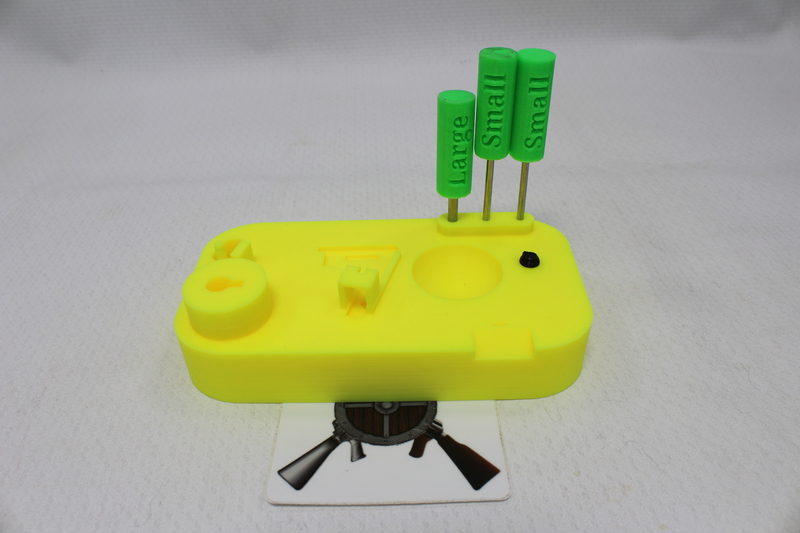
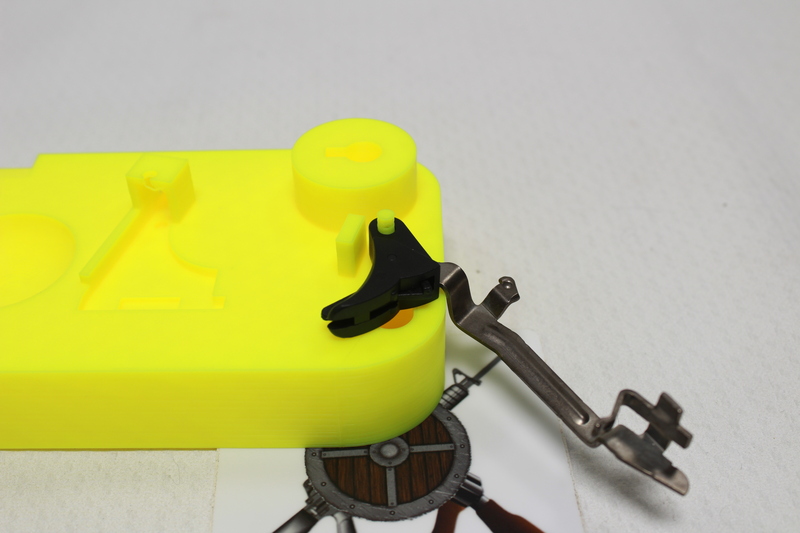
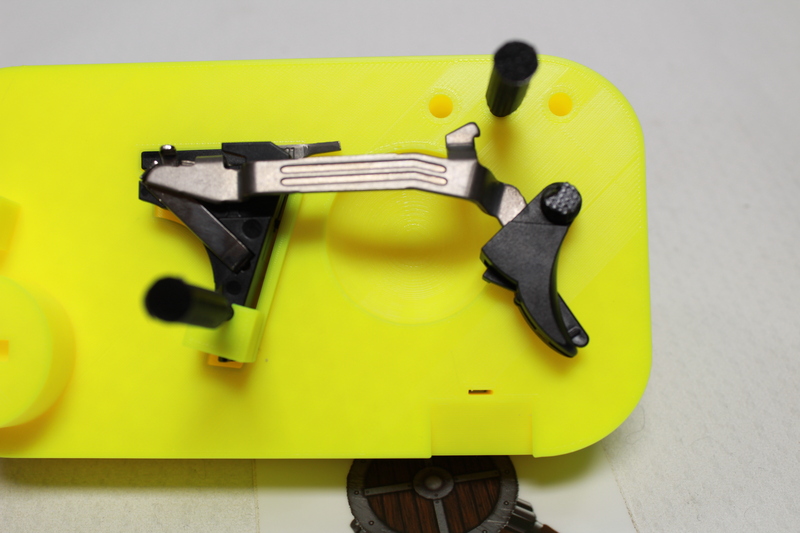
I did not like the way the trigger housing moved when manipulating the trigger. So I added a brace. I printed it with tree supports that need to be cleaned up before using it.
All Documents posted on this site are for informational use only. If you make ANY modifications to your Weapons based on this site, you do at your own risk! If done incorrectly, you can render you weapon unsafe and / or unusable.
I want to start appendix carrying my Glock 48. At the time I am writing this my current go to holster manufacture, Alien Gear, does not make an appendix holster for the Glock 48 MOS so I went with Harry’s Holsters, Singleton line. I also purchased the Dark Wing Right Hand and the Comfort Wedge Small, as both had been recommended while doing my research. I am VERY happy with the Holster and Wing, The comfort wedge….not so much. The reviews on the site are spot on with my findings.
“Foam to soft, flattened out, does push weapon closer to body somewhat but would have hoped it had been more dense as in previous product photos, so disappointed in the sponge.”
Here is what it looks like out of the packing:
Holster Wedge Original Top and SideHolster Wedge Original Side
I was not paying attention when I ordered and thought it would be a denser material shown in older reviews. This is how I fixed it for me.
I had a Harbor Freight Anti-Fatigue Foam Mat laying around. I cut a few pieces to the same length and width as the comfort wedge.
Then Gorilla glue and a clamp:
I made 2 versions, one with two pieces and one with three.
In the center is Harry’s Holsters Comfort Wedge for reference:
Stuck on the hook side of hook and loop (Velcro) on one side:
Not very pretty but functional. No one but me will see anyway.
For me the double stack is working out great!
If it continues to work out I might clean it up a bit and cut a curve at the bottom to help it slide in place better and clean up the sides. I will post if I figure out the best way to do it.
A set of 4 mats from Harbor Freight is $9.99, I used ~2 inch top slice of 1 mat. I had the Velcro and glue on hand.
All Documents posted on this site are for informational use only. If you make ANY modifications to your Weapons based on this site, you do at your own risk! If done incorrectly, you can render you weapon unsafe and / or unusable.