Do a basic polish. When that is done put a very slight bevel on the face of the ledge.
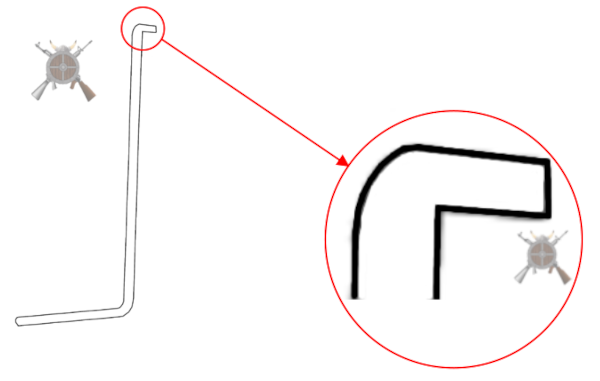
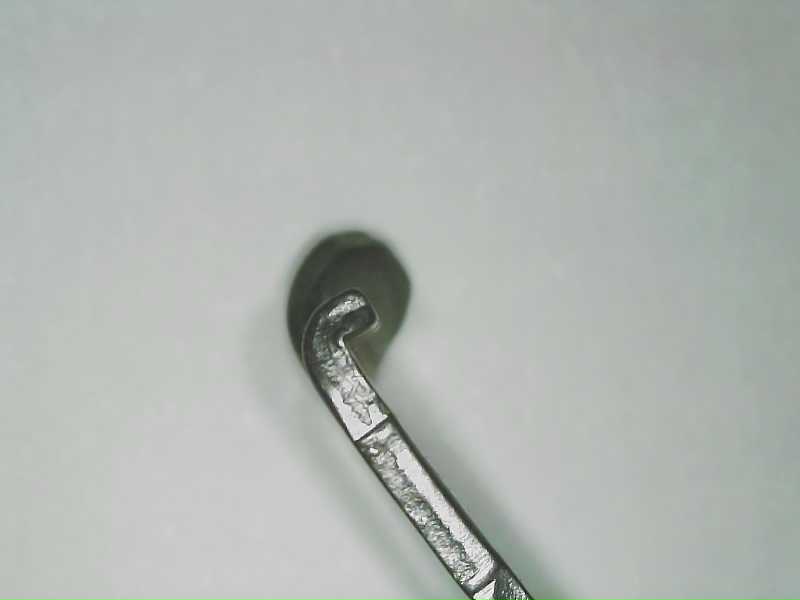
Side Drawing and Picture of connector before:
Connector Side Factory Edge Pop OutConnector Side Factory Edge
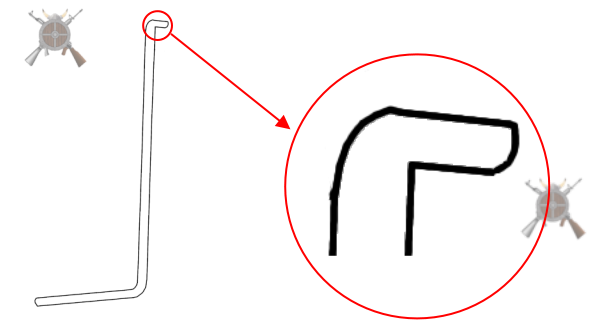
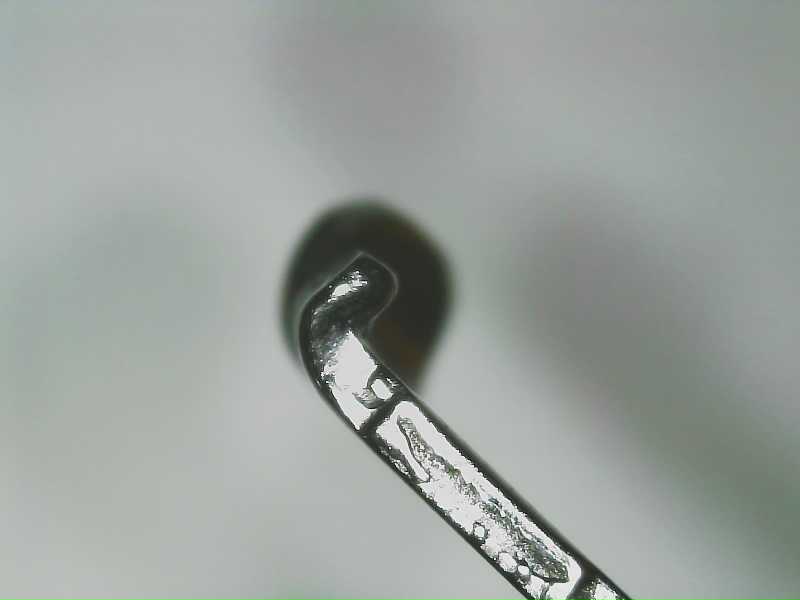
Very slightly bevel the face of the ledge.
Connector Side Modified Edge Pop OutExample Side Modified Edge
All Documents posted on this site are for informational use only. If you make ANY modifications to your Weapons based on this site, you do at your own risk! If done incorrectly, you can render you weapon unsafe and / or unusable.
All Documents posted on this site are for informational use only. If you make ANY modifications to your Weapons based on this site, you do at your own risk! If done incorrectly, you can render you weapon unsafe and / or unusable.
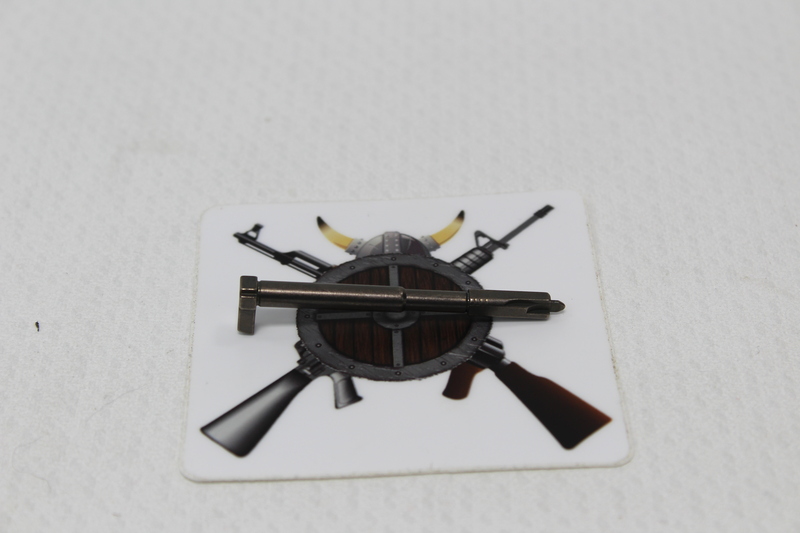
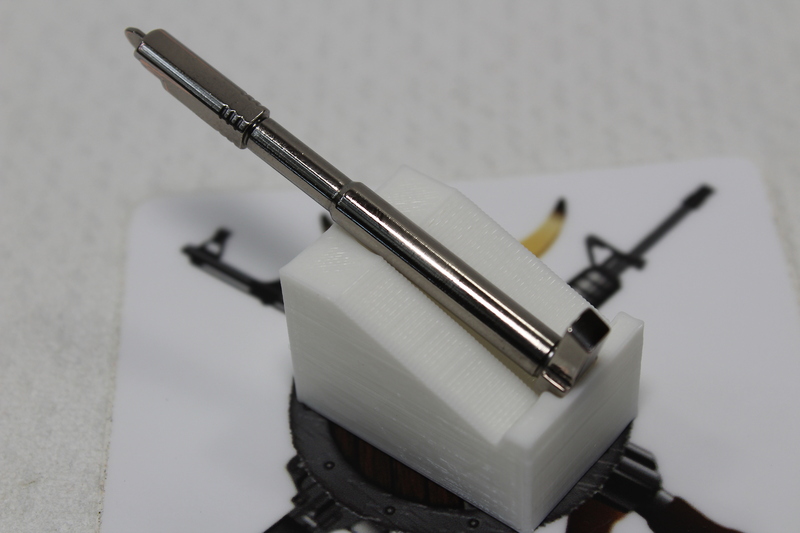
Using the polishing items in the notes HERE I did the example below:
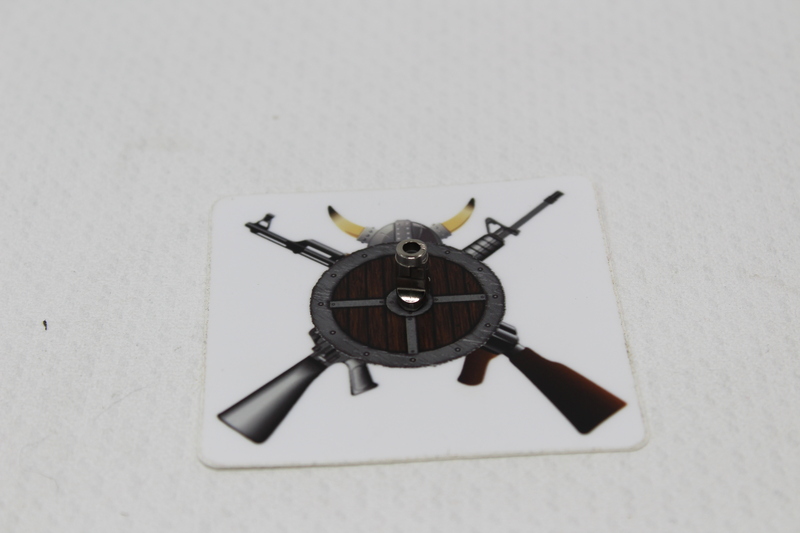
Here are is a before shot:
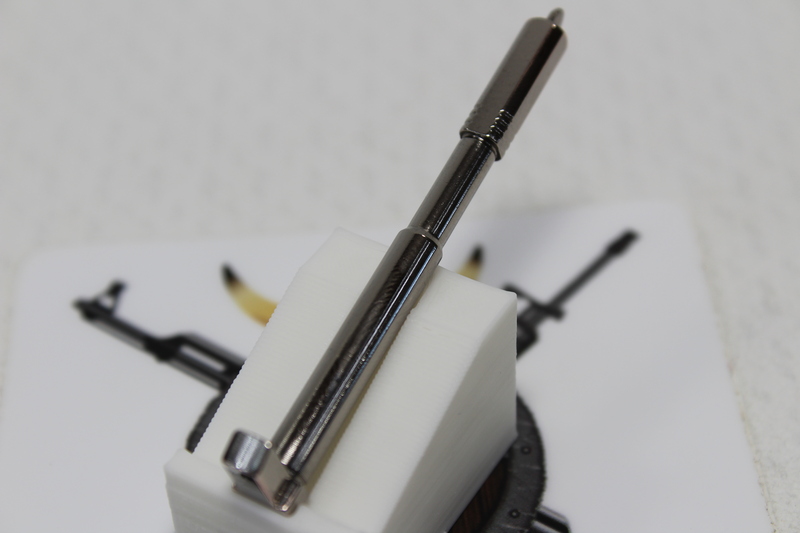
I am trying to show the firing pin face in this one. Notice the grooves:
General Cleaning / Shine polish to all areas. Careful not to remove too much from the YELLOW areas and the firing pin tip.
The Face area is what you want to get butt ass smooth.
All Documents posted on this site are for informational use only. If you make ANY modifications to your Weapons based on this site, you do at your own risk! If done incorrectly, you can render you weapon unsafe and / or unusable.
DISCLAIMER: “GLOCK” is a federally registered trademark of GLOCK, Inc. and is one of many trademarks owned by GLOCK, Inc. or GLOCK Ges.mbH. Neither Viking Armory nor this site are affiliated in any manner with, or otherwise endorsed by, GLOCK, Inc. or GLOCK Ges.mbH. The use of “GLOCK” on this page is merely to advertise the sale of Glock parts, or components. For genuine GLOCK, Inc. and GLOCK Ges.mbH products and parts visit www.glock.com
All Documents posted on this site are for informational use only. If you make ANY modifications to your Weapons based on this site, you do at your own risk! If done incorrectly, you can render you weapon unsafe and / or unusable.
I want to start appendix carrying my Glock 48. At the time I am writing this my current go to holster manufacture, Alien Gear, does not make an appendix holster for the Glock 48 MOS so I went with Harry’s Holsters, Singleton line. I also purchased the Dark Wing Right Hand and the Comfort Wedge Small, as both had been recommended while doing my research. I am VERY happy with the Holster and Wing, The comfort wedge….not so much. The reviews on the site are spot on with my findings.
“Foam to soft, flattened out, does push weapon closer to body somewhat but would have hoped it had been more dense as in previous product photos, so disappointed in the sponge.”
Here is what it looks like out of the packing:
Holster Wedge Original Top and SideHolster Wedge Original Side
I was not paying attention when I ordered and thought it would be a denser material shown in older reviews. This is how I fixed it for me.
I had a Harbor Freight Anti-Fatigue Foam Mat laying around. I cut a few pieces to the same length and width as the comfort wedge.
Then Gorilla glue and a clamp:
I made 2 versions, one with two pieces and one with three.
In the center is Harry’s Holsters Comfort Wedge for reference:
Stuck on the hook side of hook and loop (Velcro) on one side:
Not very pretty but functional. No one but me will see anyway.
For me the double stack is working out great!
If it continues to work out I might clean it up a bit and cut a curve at the bottom to help it slide in place better and clean up the sides. I will post if I figure out the best way to do it.
A set of 4 mats from Harbor Freight is $9.99, I used ~2 inch top slice of 1 mat. I had the Velcro and glue on hand.
All Documents posted on this site are for informational use only. If you make ANY modifications to your Weapons based on this site, you do at your own risk! If done incorrectly, you can render you weapon unsafe and / or unusable.
The glock 48 front rail is smaller than standard rails making it much harder to find anything that fits it. To help remedy this I made two slide over versions:
Picatinny:
And a Mantis X mount:
I would not use it for EDC / real world use. I made it to mount my Mantis trainer and various lights to see if I would like them on this weapon.
All Documents posted on this site are for informational use only. If you make ANY modifications to your Weapons based on this site, you do at your own risk! If done incorrectly, you can render you weapon unsafe and / or unusable.
Glock pistols are mass produced using stamped parts. That is not a bad thing, just the way it is. Because of that, a part will sneak in with a less than desirable finish. I am of the belief that you should inspect all you parts for defects and burrs.
In this case, I found a bur on the safety plunger.
Glock Sfty Plunger burr pointed out
I filed down the burr with a small file, being careful not to remove to much material.
Glock Sfty Plunger burr filed down
When it met my stringent standards I polished it up:
Glock Sfty Plunger Polished sideGlock Sfty Plunger Polished Top
All Documents posted on this site are for informational use only. If you make ANY modifications to your Weapons based on this site, you do at your own risk! If done incorrectly, you can render you weapon unsafe and / or unusable.
We all know the factory Glock sights are notoriously poor, so let me replace them! I take a lot of care to make sure the sights on your pistol are installed and aligned correctly. I have a very nice sight pusher tool that drifts the sights on and off without the need of a punch or hammer. Using such a tool protects tritium vials from breaking, prevents marring of the slide, and the sights.
All Documents posted on this site are for informational use only. If you make ANY modifications to your Weapons based on this site, you do at your own risk! If done incorrectly, you can render you weapon unsafe and / or unusable.
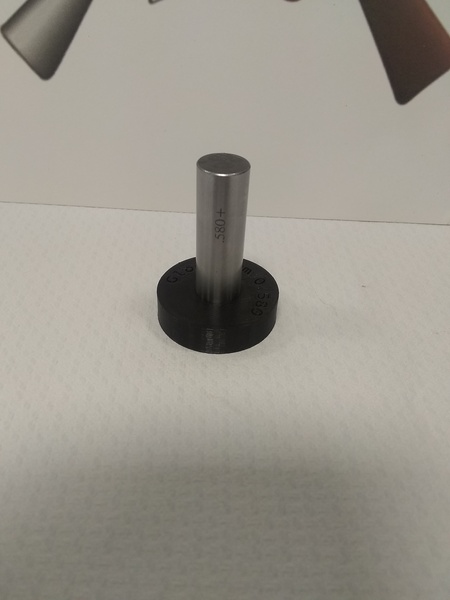
This is NOT to check the diameter of your barrel or anything else! Just to check if there is a bulge in your barrel.
Glocks method of checking the barrel is to remove the slide and push it the barrel hole and make sure it does not have a bulge. I wanted something I could use on barrels that are not installed without having to remove a slide.
This example is for 9mm Barrels. I measured several 9mm barrels and slides for Glocks and came up with 0.580 inch for the inner diameter. Because printers vary check before you use.
Barrel bulge checker 9mm 01
Just slide it over your barrel and check for a bulge. PLA is softer than the barrel so there should be no marring.
All Documents posted on this site are for informational use only. If you make ANY modifications to your Weapons based on this site, you do at your own risk! If done incorrectly, you can render you weapon unsafe and / or unusable.
I recently took the Glock Armors course. It was fun, got to hang out with some like minded individuals and have some good conversation. Both the Instructor and the Sales guy stated several times that Glock is very Military and Law Enforcement oriented and that those groups are around 80% of Glocks business. Any input from anyone but those 2 groups will fall on mostly deaf ears.
If you don’t pass, it is because you don’t want to. That said, I am still out if the “Certification” holds any real value other than a civilian / business being committed enough to spend $250 on some swag. Maybe parts straight from Glock? There is no certification number to identify you, no logo for your business from Glock I could find, no website for customers to verify you are currently certified.
The Law Enforcement customers don’t individually pay for the class or get reimbursed. The LE guys I talked to need continuing education points and like to shoot. The free class is a win-win for them.
In the class I took, the benefits of Certification were never touched on. No idea from the class how to order parts or who to contact if I need something. No “front of the line” if I need help. Law enforcement get a hold of your sales guy. You will get a gray scale certificate in the mail 4-6 week after the class.
I don’t know if I will spend my own money to get re-certified. I just cant think of a benefit for myself. I could buy a lot of Glock factory parts from a reseller for the money I spent, maybe even a new Glock with the GSSF Pistol Purchase Coupon or a good part of it. Ammo and Training….
Class $250
Gas at least $50
Lodging / Meals $100
I do not consider GSSF membership to be part of the value of the Certification. 2 Separate things.
Don’t get me wrong, I will shoot my Glocks until they fall apart. I just don’t see what the certification gives me, what the value is. Over $400 is a lot for lunch, socializing, and a piece of paper no one will ask for.
1-24-23: I have been ordering a lot of parts. I am starting to see a return on my investment. I will keep updating.
All Documents posted on this site are for informational use only. If you make ANY modifications to your Weapons based on this site, you do at your own risk! If done incorrectly, you can render you weapon unsafe and / or unusable.