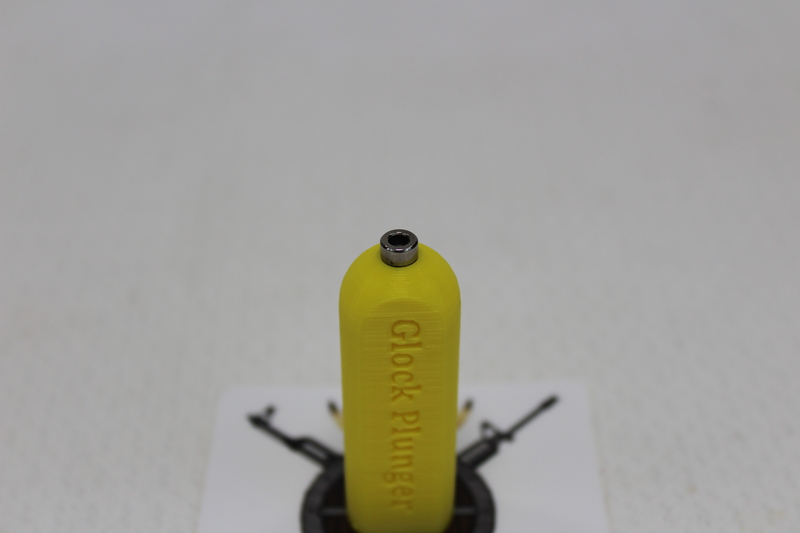
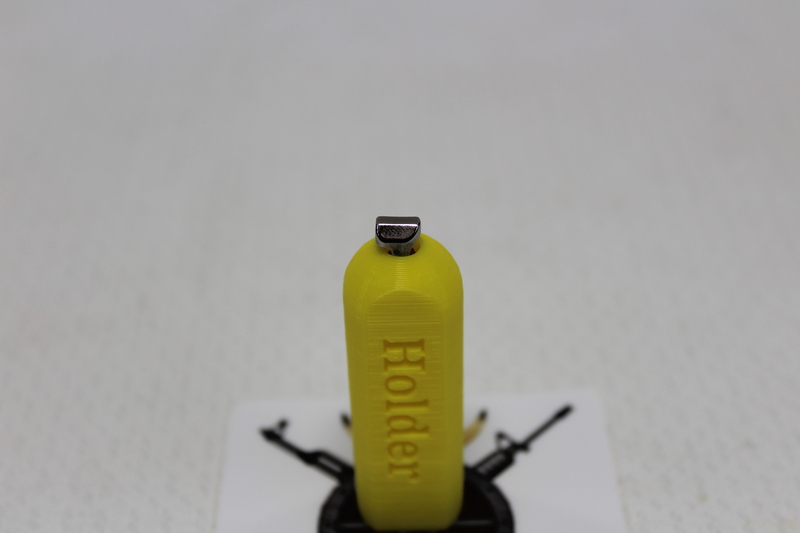
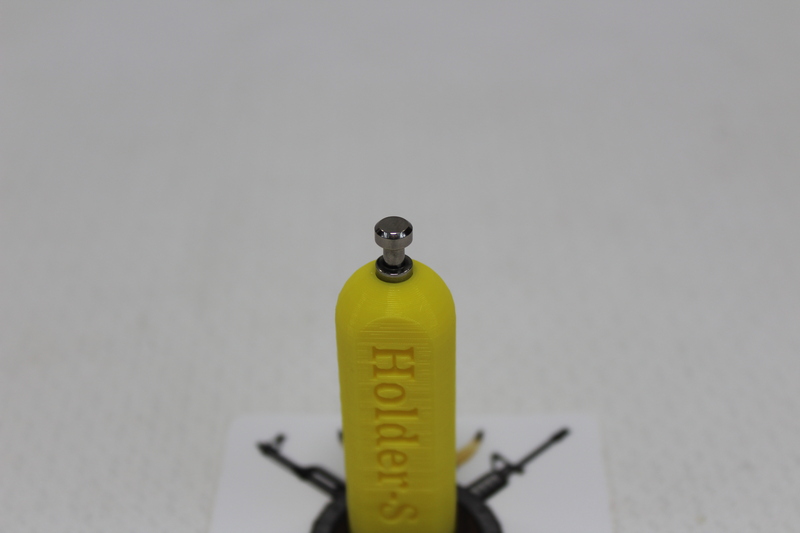
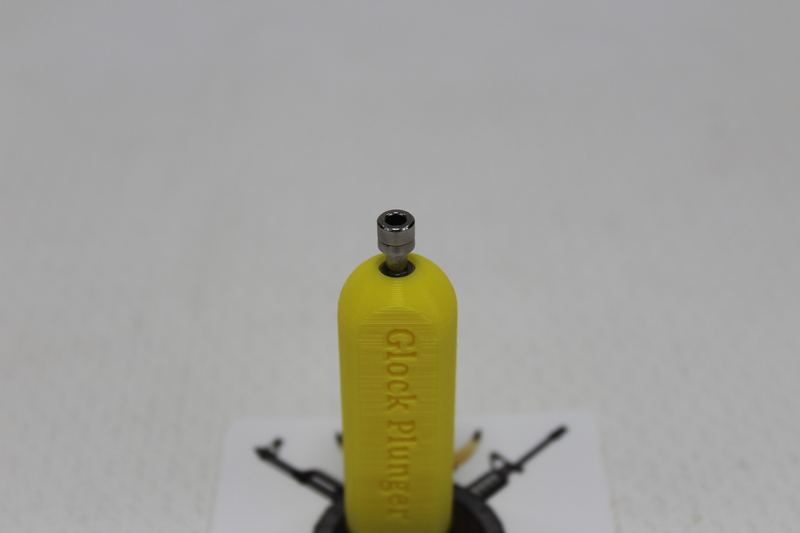
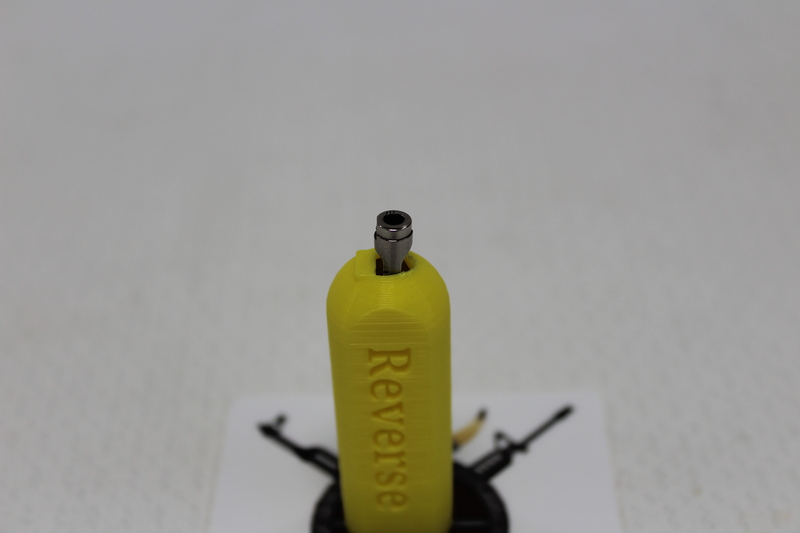
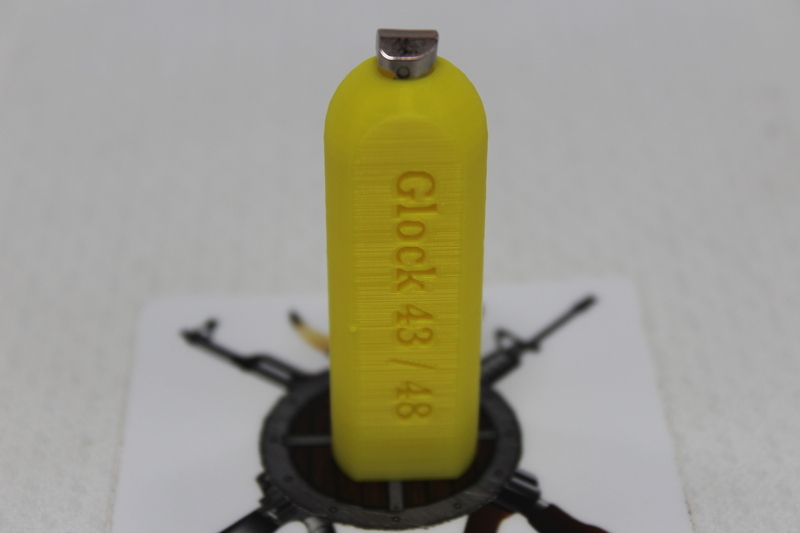
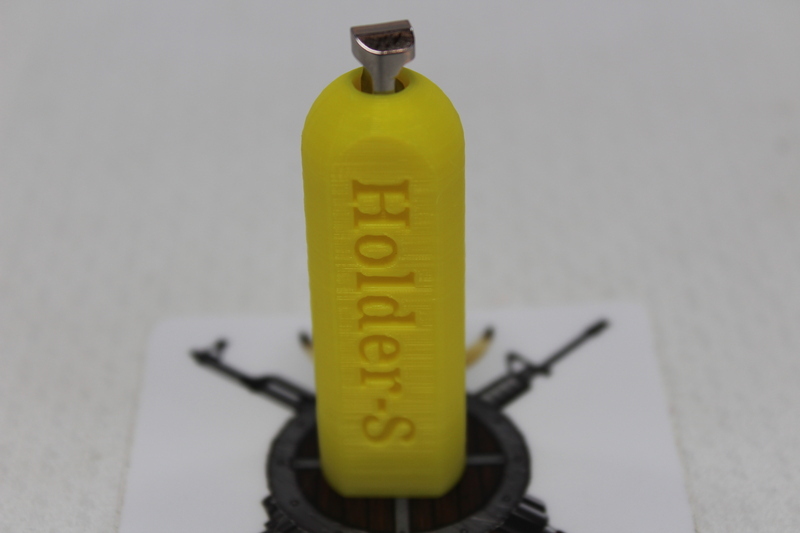
When polishing any small part like the Glock safety plunger using buffung wheels on my grinder the part would at times go flying out and get damaged or temporarly lost. To help with that I create and print the Glock Safety Plunger Holder. I have different versions for different models and generations:
Plunger Holder.stl:

Gen 5:
Plunger Holder Shallow.stl
Gen 5:

Plunger Holder with Lip.stl – I am testing this one out. I added the lip to see if it would help hold the Glock Safety Plunger a bit better…
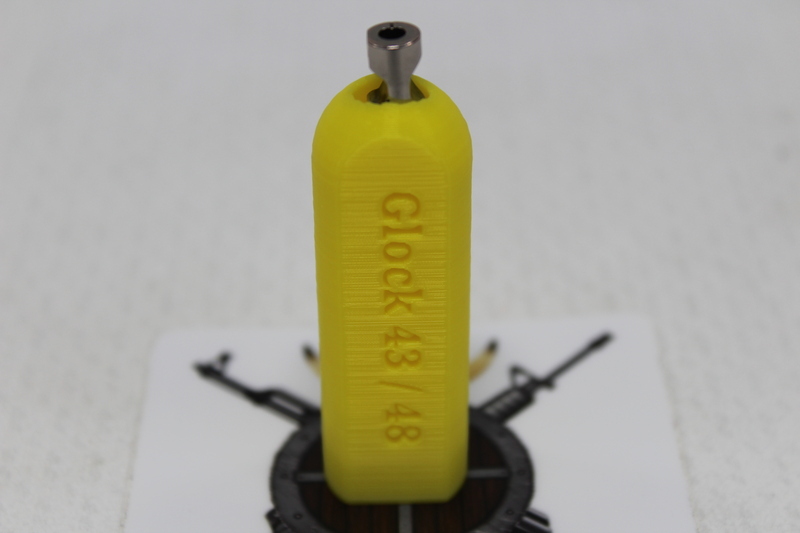
Plunger Holder G43 G48.stl
Plunger Holder G43 G48 Shallow.stl
Plunger Holder G43 G48 Reverse.stl
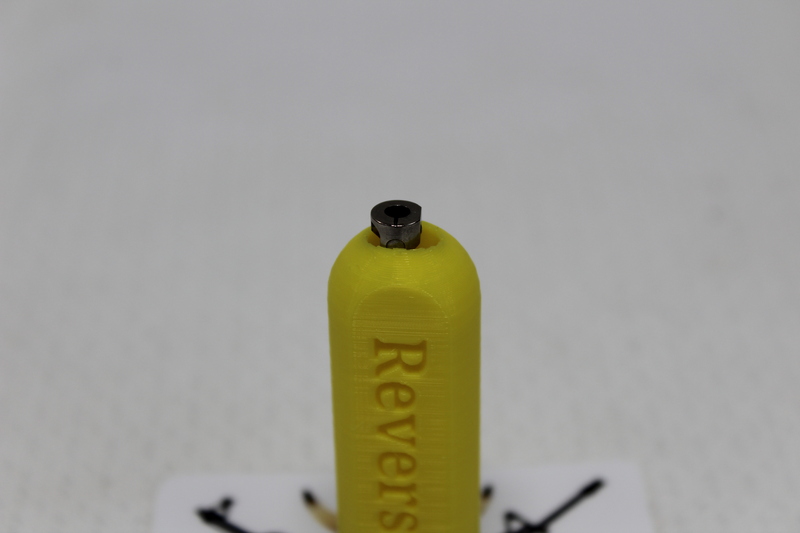
Plunger Holder G43 G48 Reverse Shallow.stl
I usually print these up when I have just a bit of filament left. Then toss it in a drawer till needed.
Hit us up with comments or requests
https://www.thingiverse.com/thing:5926916
All Documents posted on this site are for informational use only. If you make ANY modifications to your Weapons based on this site, you do at your own risk! If done incorrectly, you can render you weapon unsafe and / or unusable.
More HERE: https://viking-armory.com/?page_id=723