The Glock Ring
This is NOT to check the diameter of your barrel or anything else! Just to check if there is a bulge in your barrel.
Glocks method of checking the barrel is to remove the slide and push it the barrel hole and make sure it does not have a bulge. I wanted something I could use on barrels that are not installed without having to remove a slide.
This example is for 9mm Barrels. I measured several 9mm barrels and slides for Glocks and came up with 0.580 inch for the inner diameter. Because printers vary check before you use.
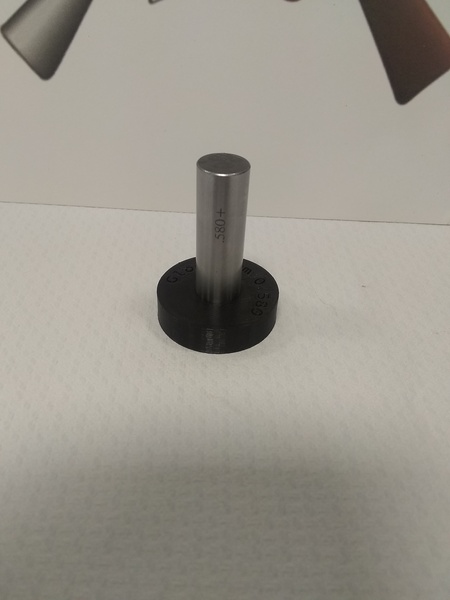
Just slide it over your barrel and check for a bulge. PLA is softer than the barrel so there should be no marring.

Hit us up with comments or questions
All Documents posted on this site are for informational use only. If you make ANY modifications to your Weapons based on this site, you do at your own risk! If done incorrectly, you can render you weapon unsafe and / or unusable.
More HERE: https://viking-armory.com/?page_id=723