Our Glock parts tray just made the big time! They are on a Johnny Glocks video.

The complete video can be found here, the tray shows up around 1:08:25
Thanks to Johnny Glocks and crew for having us over!
Viking Armory – Veteran Owned and living the Dream

We have added a new Glock pin set, that you can buy HERE, to our collection. We listened to our customers who said that they wanted a longer handle for a better grip. The length of the pins is the same on both versions.
Here you go:


There a 3 pins in 2 different sizes, 1 large and 2 small.

Shown in the below image Gen 4 and prior used 3 pins:

While the Gen 5 and later only use 2:

We want you to be able to use our tools on all you can, so we include 3.
Here is a picture with the pins used on a Glock 17 Gen 4:

Get your Here
Hit us up with comments or requestsAll Documents posted on this site are for informational use only. If you make ANY modifications to your Weapons based on this site, you do at your own risk! If done incorrectly, you can render you weapon unsafe and / or unusable.
More HERE: https://viking-armory.com/about-us/
I want to provide an update to the GlockSmith block . With this latest version I changed the way the Glock trigger housing is held down. I removed the printed square “bridge” and replaced it with a brass fitting and a thumb screw. This will allow better installation and usage of the trigger tool portion of the block. Will work with all Glock triggers.
Everything else on the block remains unchanged.
You can get yours HERE
We wanted to create a one stop block for common Glock repairs and modifications .
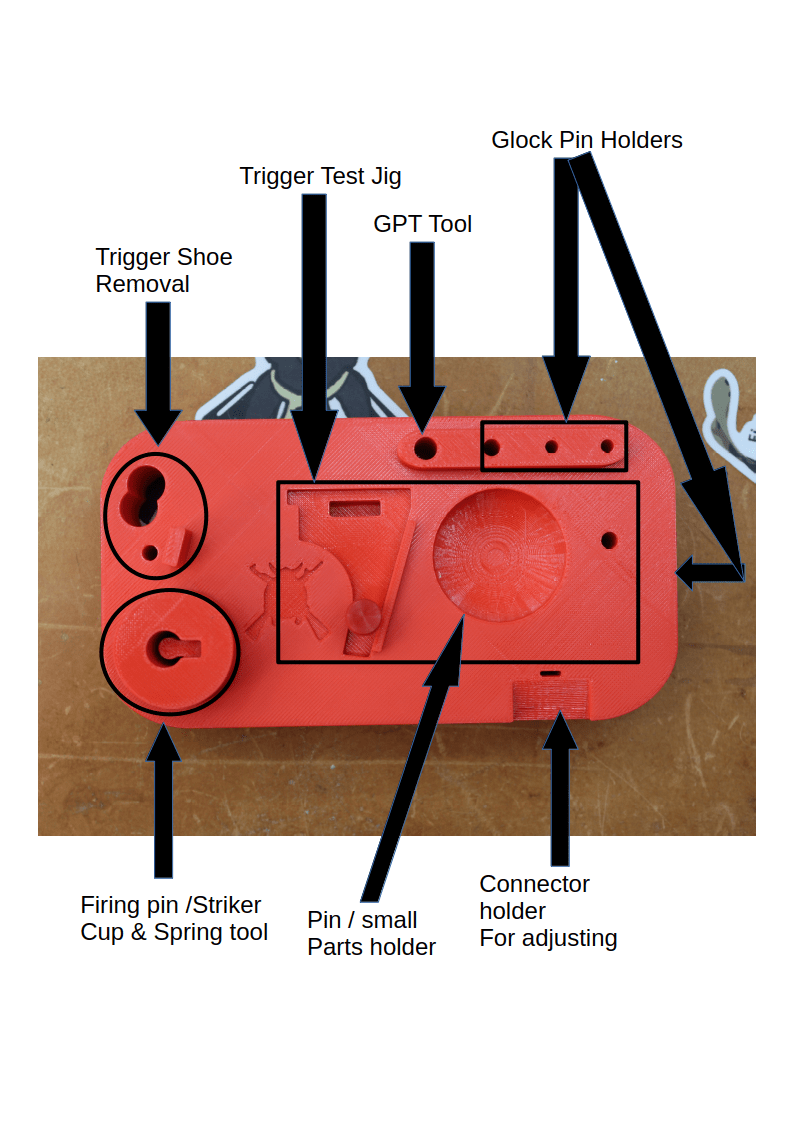


You can get yours HERE
Here is a handy place to inventory and store your Glock parts
These trays are a great place to store and inventory your Glock parts. There are 2 high quality trays, 1 for you Slide (Upper) parts and one for the frame (Lower). Our Glock parts trays work for all Glocks. They stack when empty for convenient storage.

The Glock parts storage trays are great if you are working on multiple Glocks at the same time, lets you keep each Glocks parts together.

They stack for easy Storage!

This is what I do for deep cleaning my pistols. I don’t want to get into the endless debate over how and when you should clean, that’s up to you. I am only showing what I do.
This is a shot of my setup before initial take down.

I use my Harbor Freight ultra sonic cleaner with a 30:1 ratio of distilled water:Simple Green set on heat for 16 minutes. 8 minutes flip / adjust parts another 8 minutes. Small parts go into a jar or solution filled zip lock bag.

Then I blow everything off:

Then I drop the parts in my Bald Eagle ultra sonic cleaner with a 20:1 ratio of Distilled water:Ballistol set on 122 degrees for 20 minutes. 10 minutes flip / adjust parts another 10 minutes. I put the small parts in a jar with the same solution.

I blow and wipe everything off then lay the parts out back on the work bench.

Then I put it back together and function test. Ready for the range.
Get yours HERE
I designed the AK74 vise block because I did not see many out there. Plenty for the AK-47, not this smaller brother.
I know it fits my Riley Defense. I made the tolerances “loose” enough that it will fit other manufactures as well, but tight enough to hold your AK in place.


I wanted to make a Yoke assembly for my Foredom motor, something like this one.
I had this big bearing from a previous project. This led me to create 2 versions:
Big Bearing:


And a standard 608 Skate Board Bearing version:

The insert works for both:
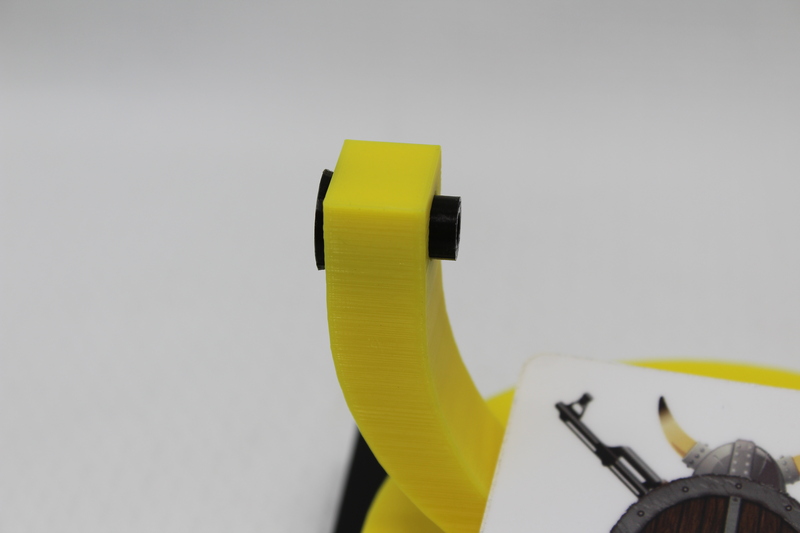
Looks and works pretty good! I have been using the large bearing version for around 6 months with no issue. I am not a heavy Foredom user, it is a tool in my tool box.
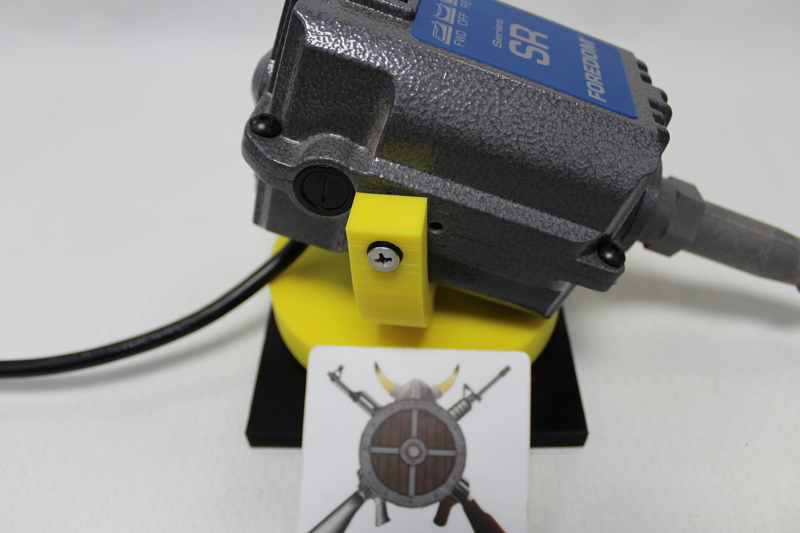
Download HERE
A simple and effective holder to check the spacing from the AR15 gas key and the receiver extension. Use of the BCG to Buffer Space Gauge aka 2 Quarter Tool is documented on many popular blogs and YouTube channels.
I can not find an exact minimum spacing in the Army TM 9-1005-249-23&P Nov 2008. If someone finds it let me know and I will put it in the references.
I like to make things so I came up with this little gem.
It measures 2 quarters / 3.5mm thick and has a few stops to help hold it in place while you are cramming your Bolt Carrier Group back trying to get the gauge.
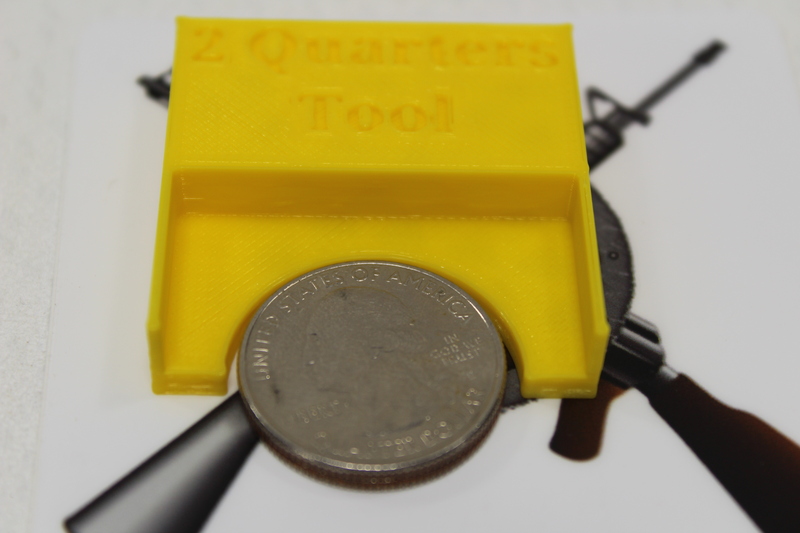
Stops to help hold it:
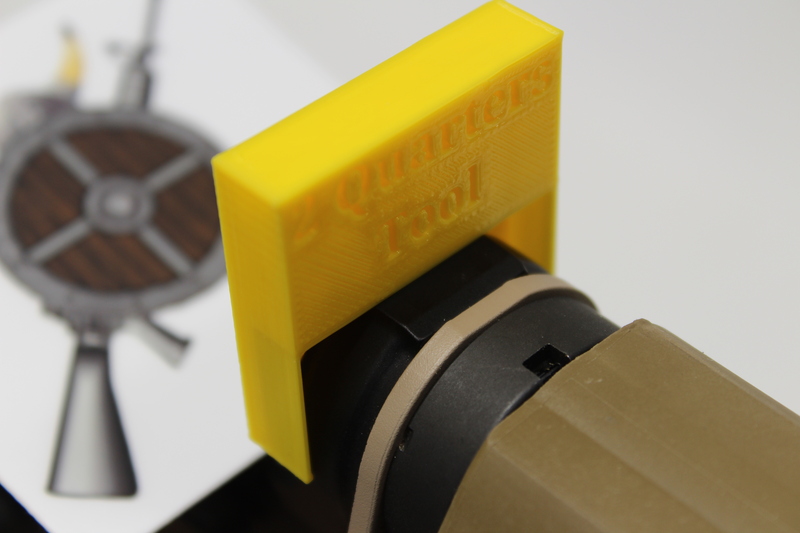
Opening to let the BCG slide in:
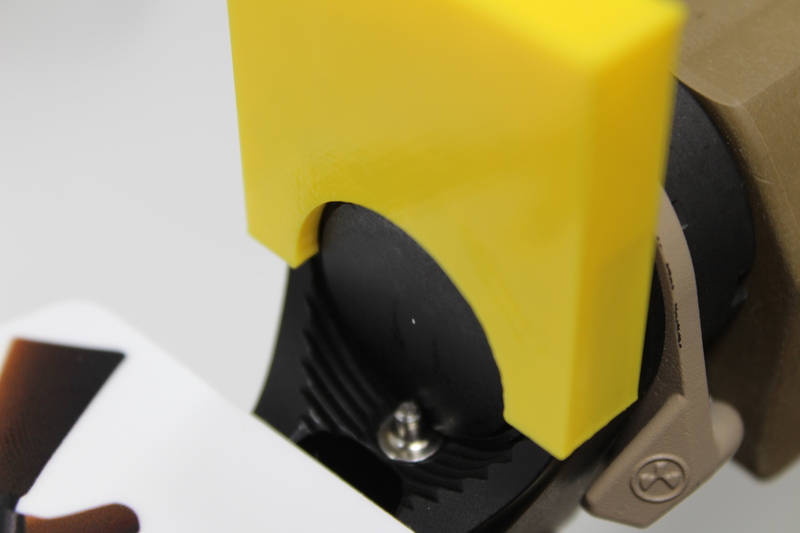
Showing the gap:
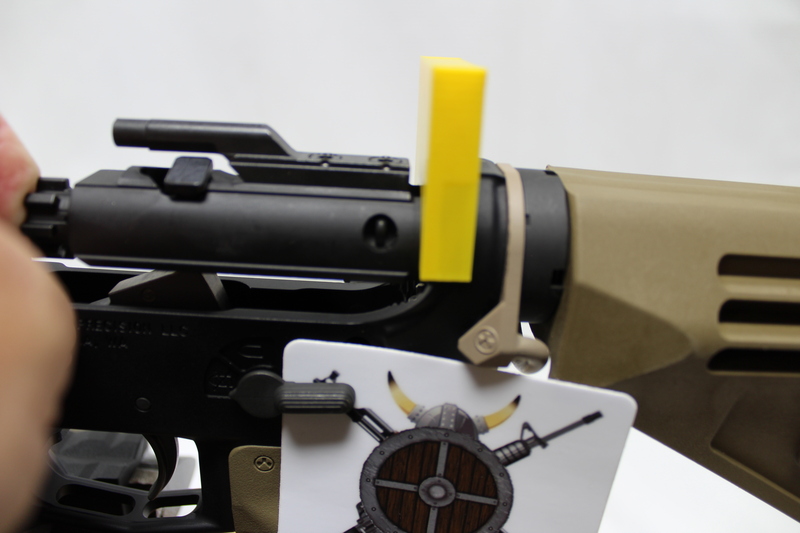
Ref:
https://www.usmint.gov/learn/coin-and-medal-programs/coin-specifications
All Documents posted on this site are for informational use only. If you make ANY modifications to your Weapons based on this site, you do at your own risk! If done incorrectly, you can render you weapon unsafe and / or unusable.
More HERE: https://viking-armory.com/about-us/
REF: Army TM 9-1005-319-23&P Nov 2008, Page 0021-10:
Check free length of action spring. RIFLE ONLY: The free length must be between 11 3/4 in. (29.85cm) minimum and 13 1/2 in. (34.29 cm) maximum. CARBINE ONLY: The free length must be between 10 1/16 in. (25.56 cm) minimum and 11 1/4 in. (28.58 cm) maximum. If measurements are notaccurate, replace. Do not attempt to adjust the length by stretching the action spring.
Your manufacture might be different, in making the jig I used the above.
If you have a 3D printer it is a cheap print. This is too long for a standard print bed, I used my Ender Extended 400×400 print surface for this one.
You can download the STL on Thiniverse
To help check the length of your buffer spring I created 2 versions of the AR15 Buffer Spring Measurement Jig; Rifle and Carbine length. The Center is minimum length and the other is maximum length. Your printer might be different so double check measurements after printing.
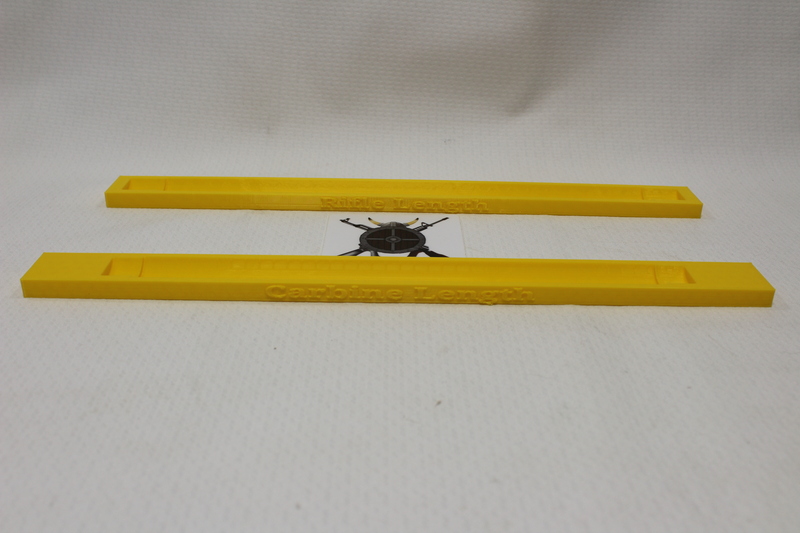
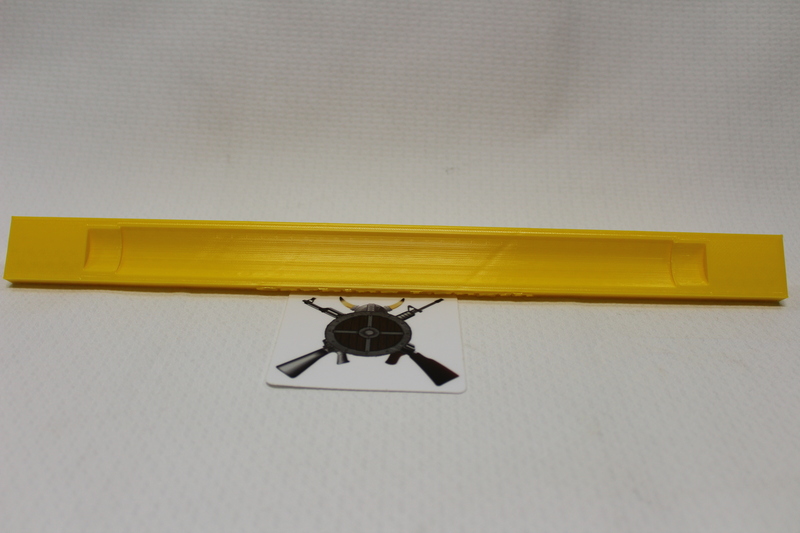
With Rifle Spring:
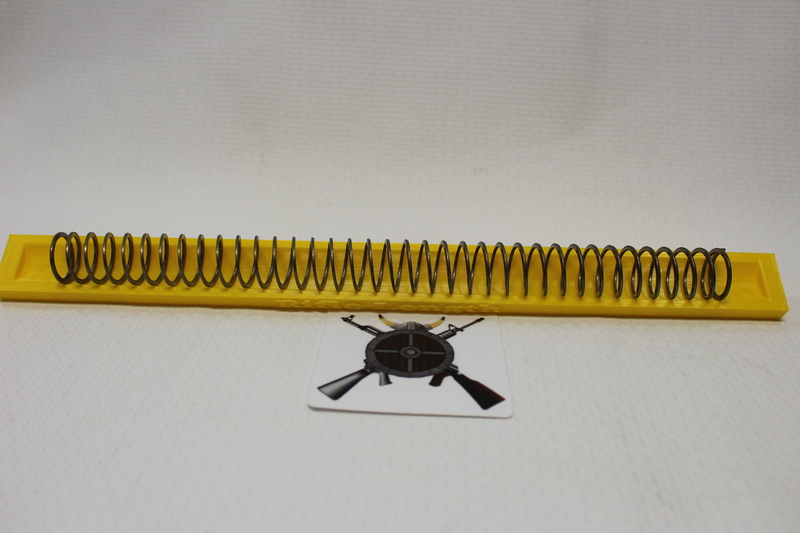
All Documents posted on this site are for informational use only. If you make ANY modifications to your Weapons based on this site, you do at your own risk! If done incorrectly, you can render you weapon unsafe and / or unusable.
More HERE: https://viking-armory.com/about-us/
A tool to help hold your gas block while you are trying to drive the gas tube pin in or out. It is plastic, if you beat on too hard or too many times it will break. Not to fear! it is a cheap and relatively fast print.
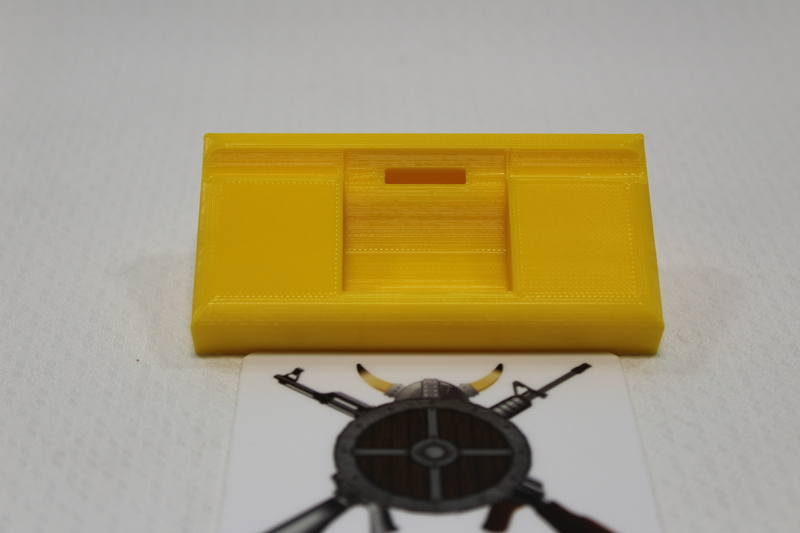
As an extra bonus, I created a extension tube holder!
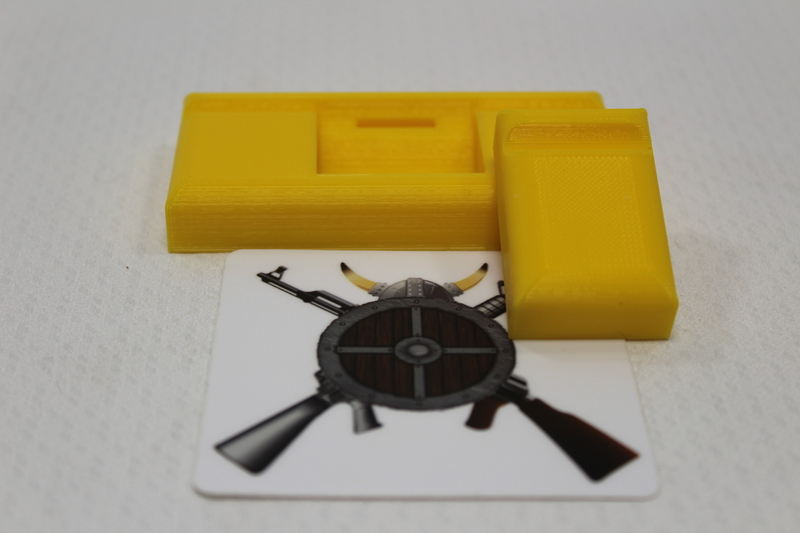
Group shot:
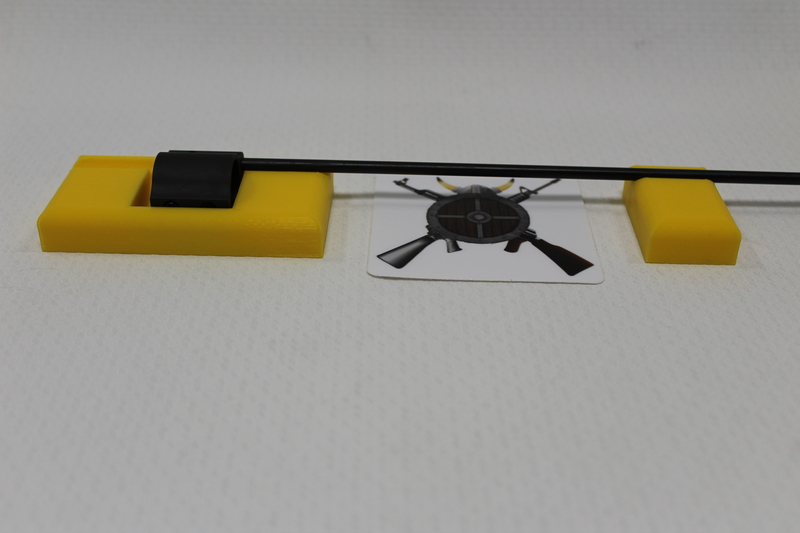
Print your own! Files are on Thingiverse
All Documents posted on this site are for informational use only. If you make ANY modifications to your Weapons based on this site, you do at your own risk! If done incorrectly, you can render you weapon unsafe and / or unusable.
More HERE: https://viking-armory.com/about-us/